|
 Vitour Symbol13 ViewsClick to View |  Vitour Performance Tires3 ViewsClick to View |  Tempesta Enzo 200 ViewsClick to View |
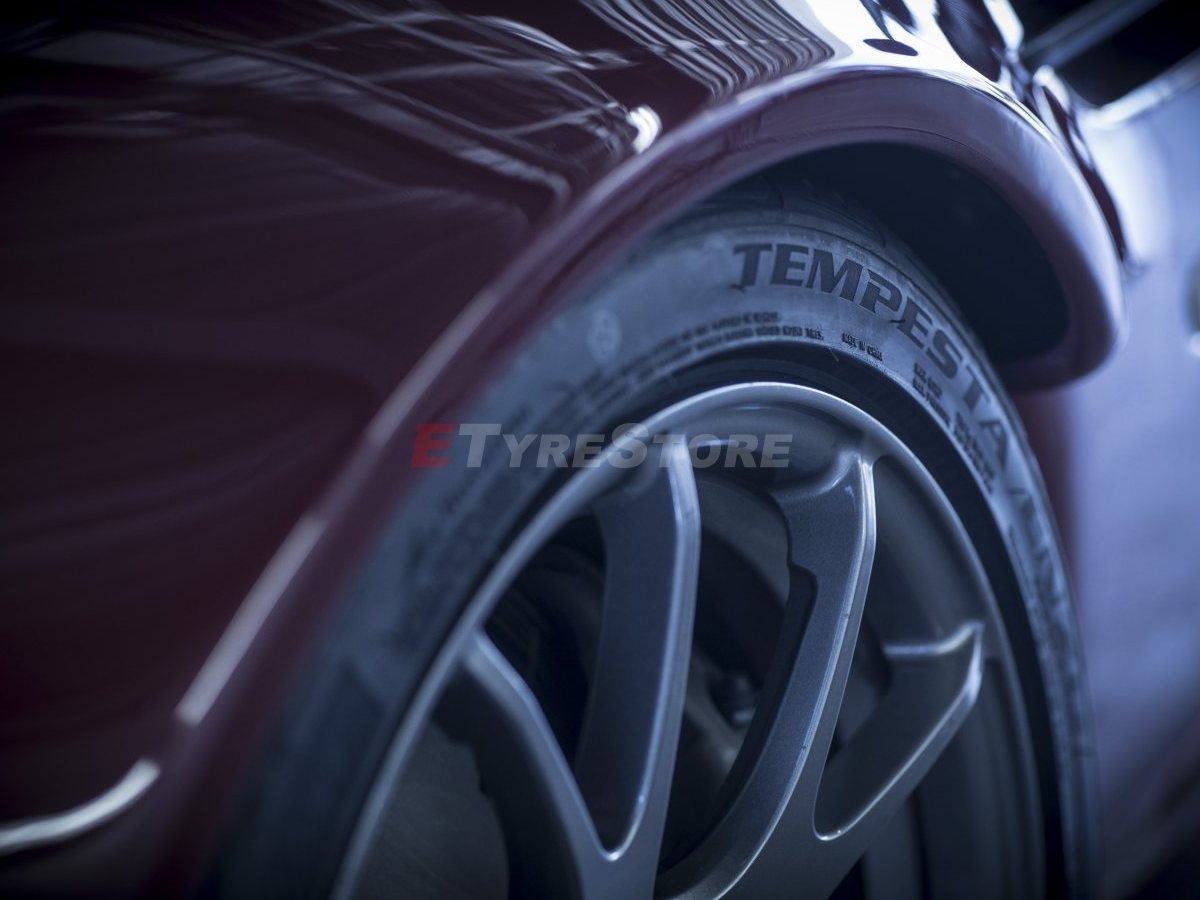
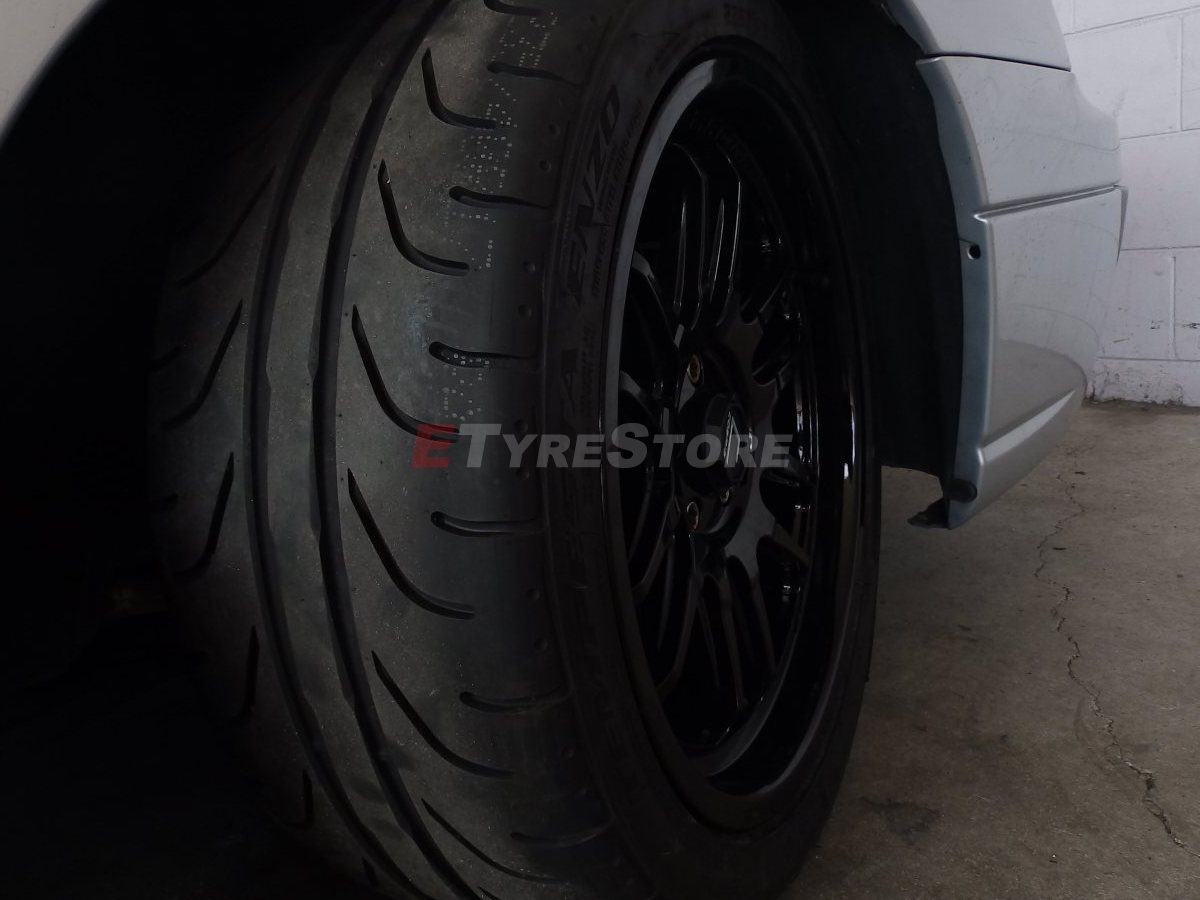
 Vitour Tempesta Enzo4 ViewsClick to View |  Tempesta3 ViewsClick to View |  Vitour Performance 2 ViewsClick to View |
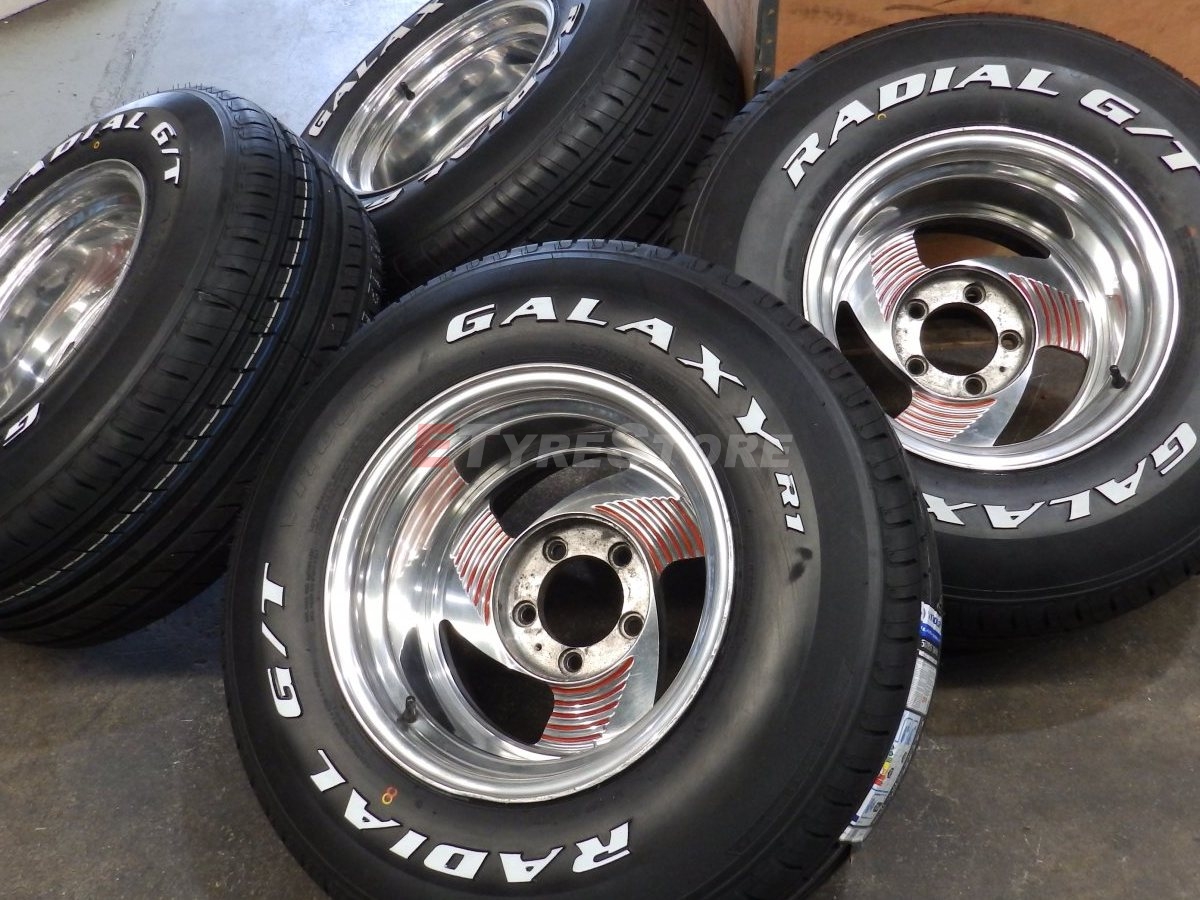
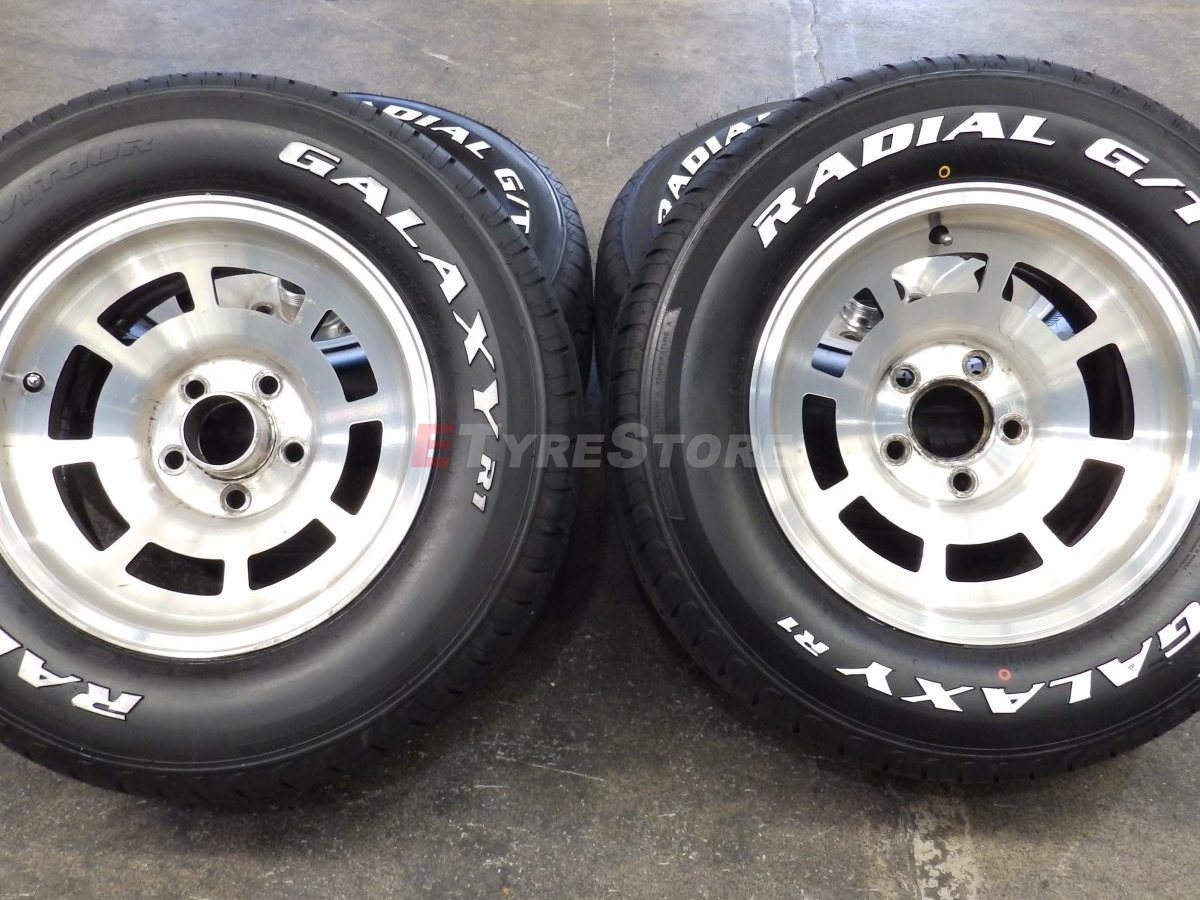
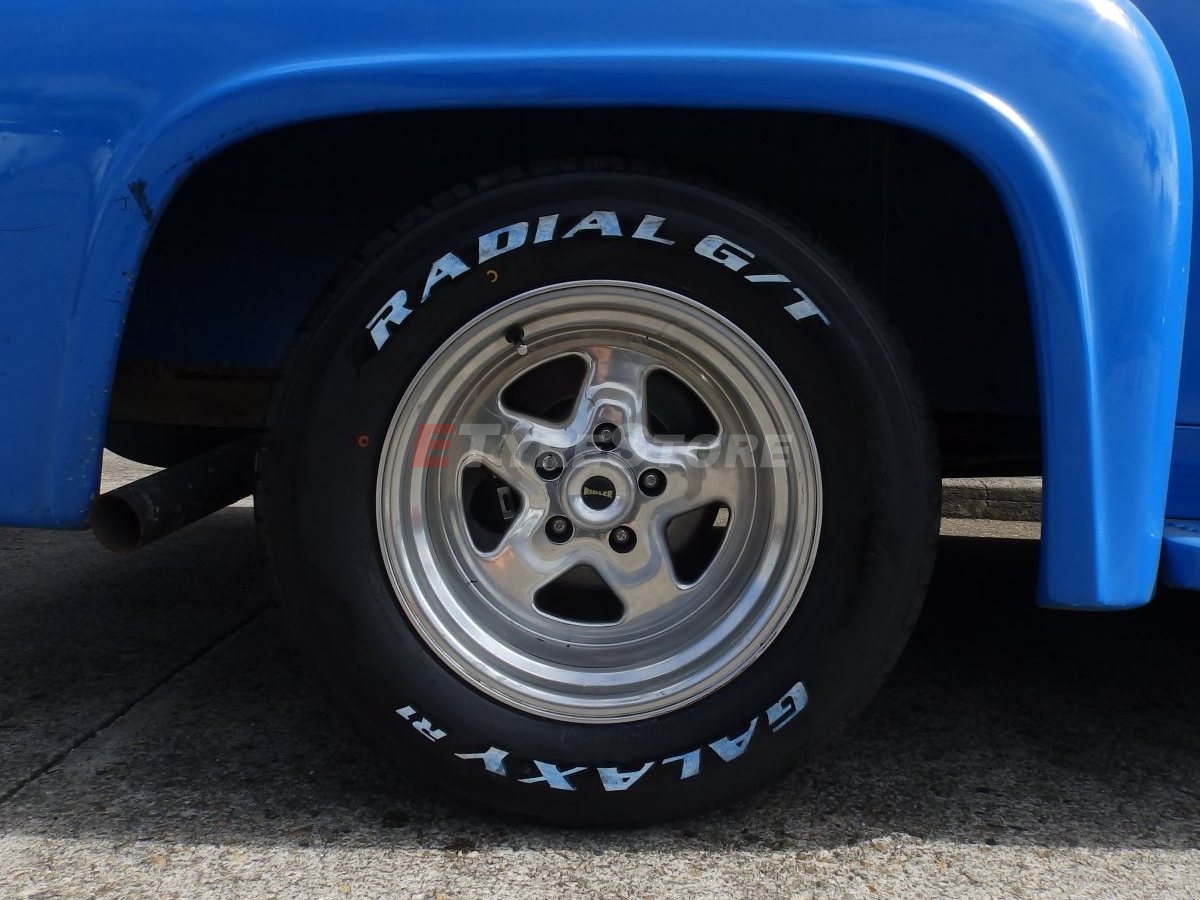
 Vitour Performance Vehicle3 ViewsClick to View |  Vitour Galaxy Radial GT RWL Poster19 ViewsClick to View |  Vitour Galaxy R1 WSW Poster2 ViewsClick to View |
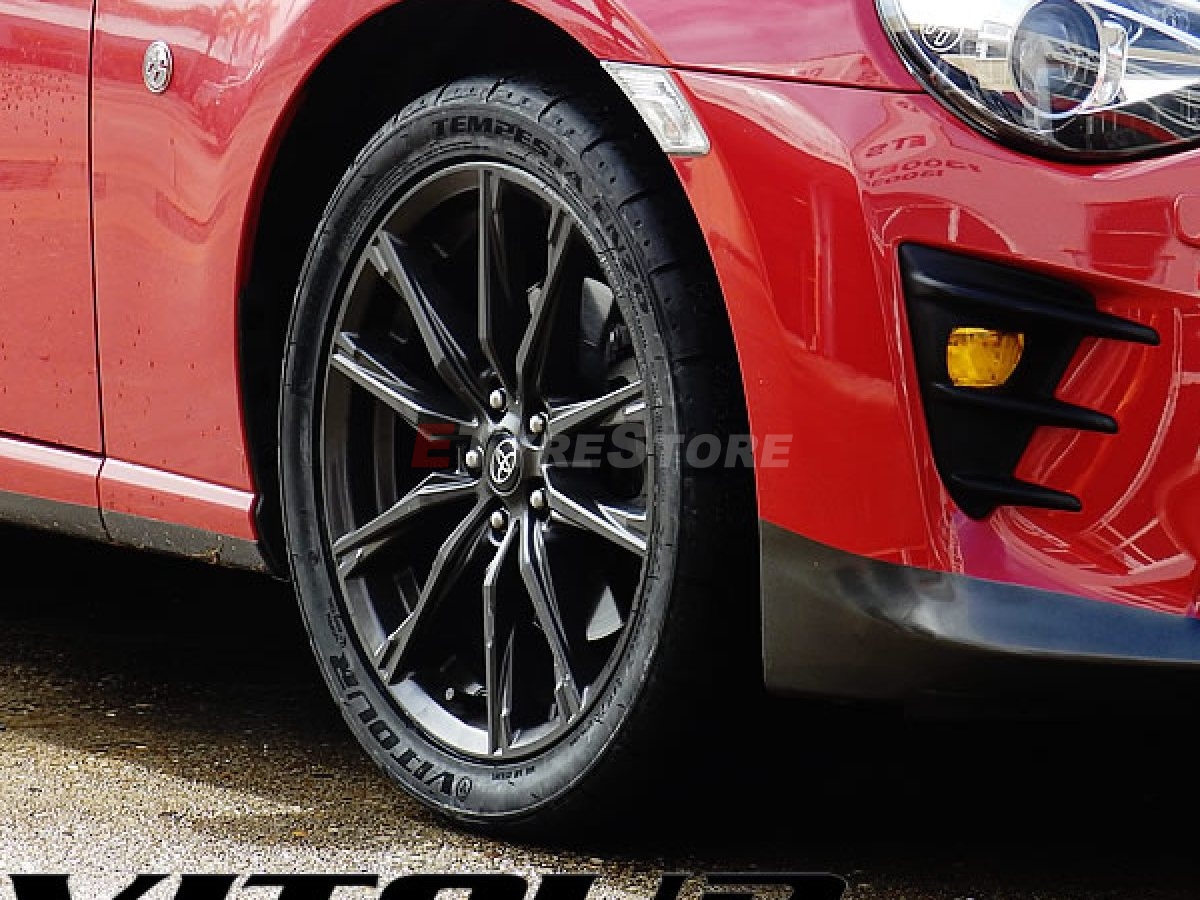 Toyota GTI With Vitour Tempesta Enzos2 ViewsClick to View | 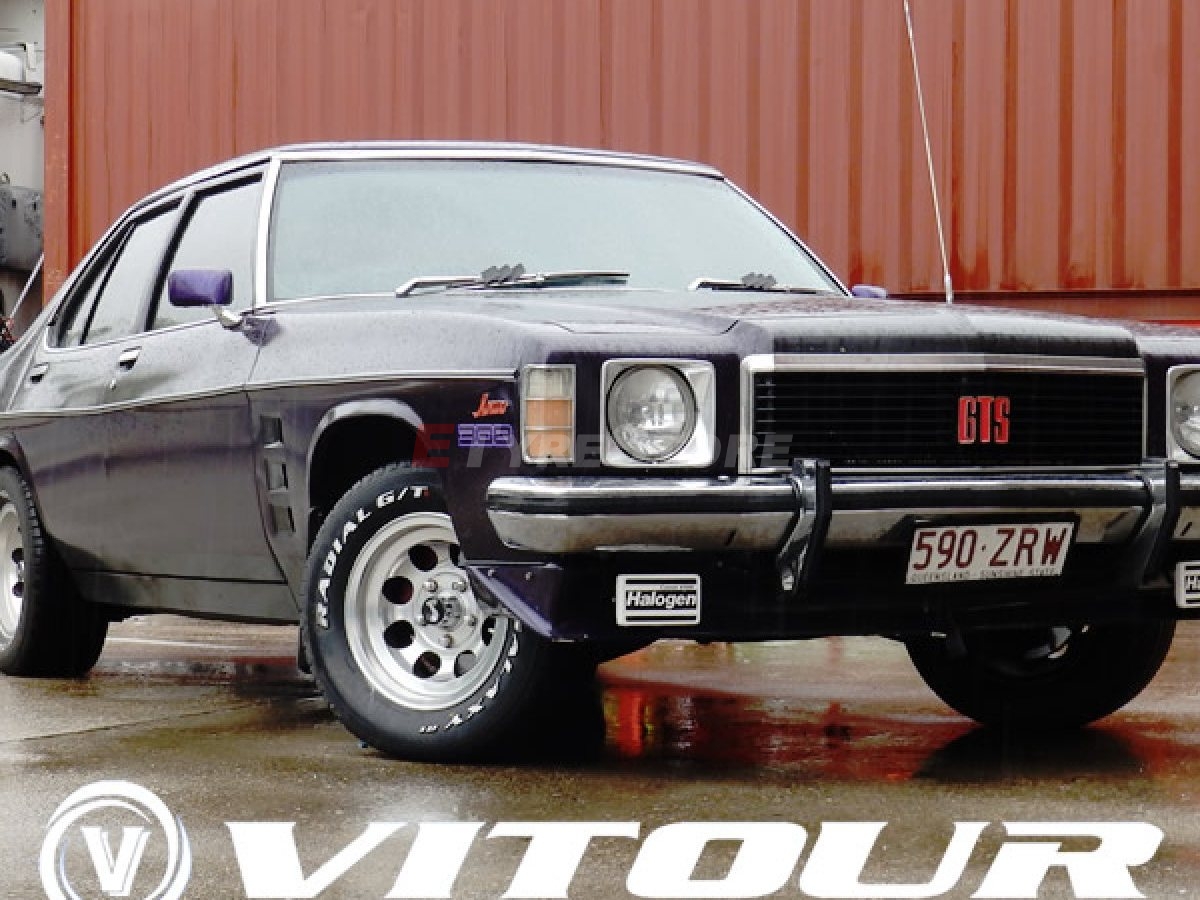 Monaro GTS With Vitour Galaxy GT Tyres8 ViewsClick to View | 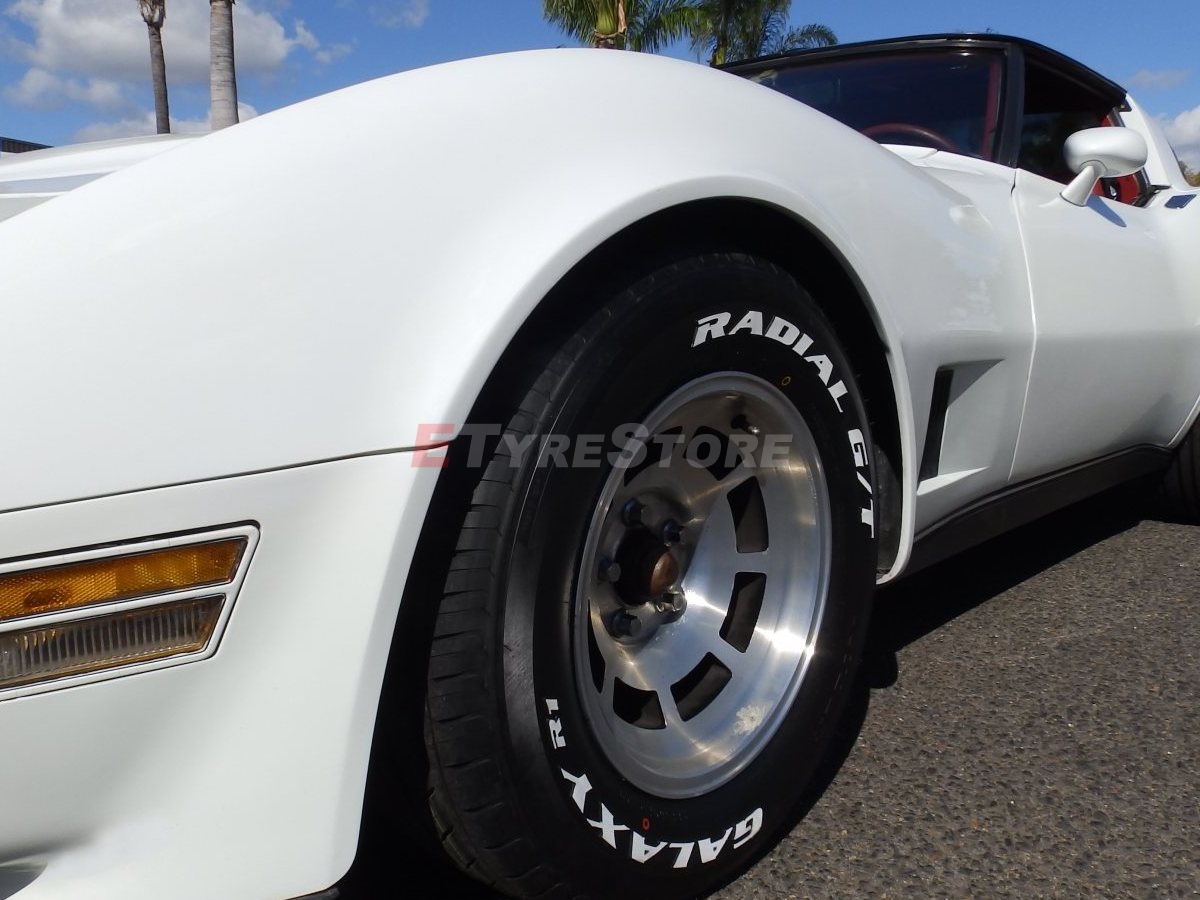 Vitour Galaxy GT RWL On Corvette2 ViewsClick to View |
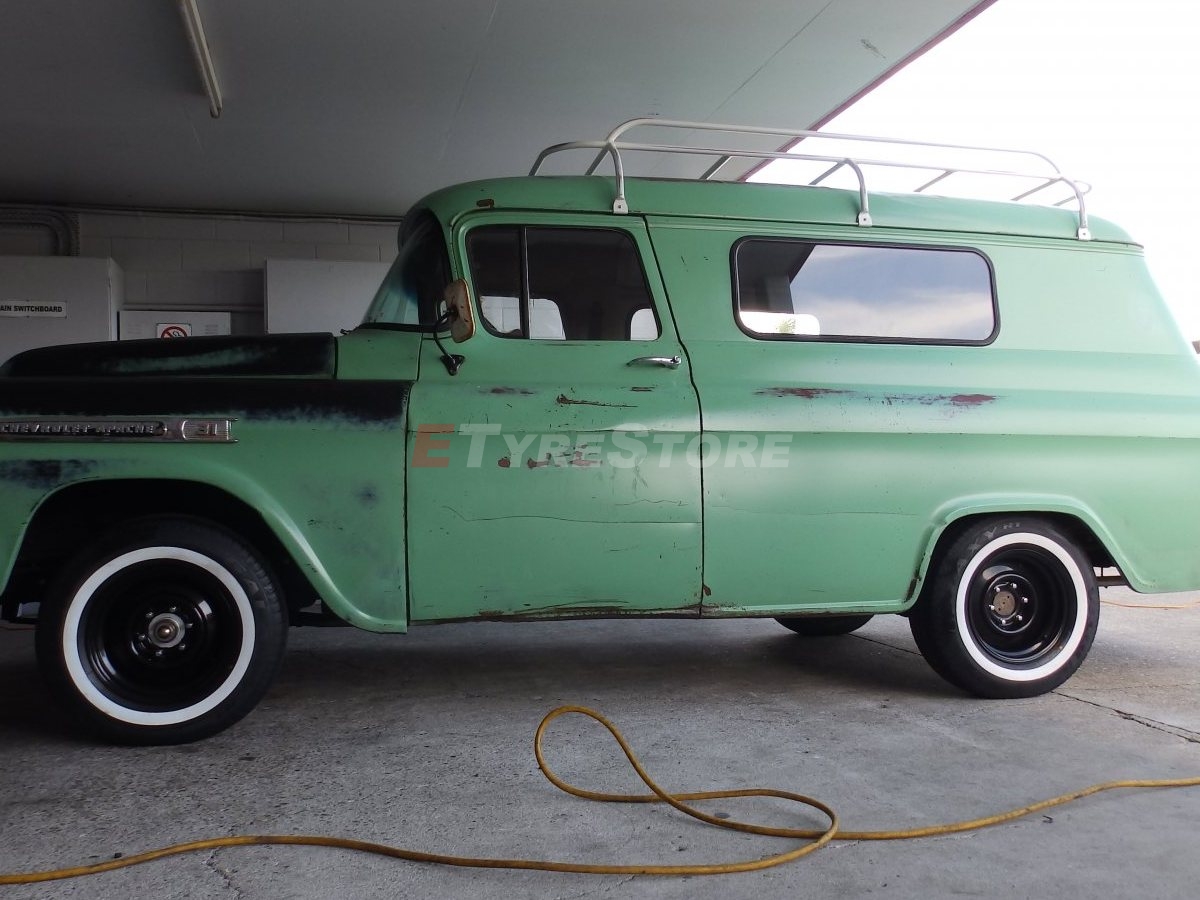 225/75R15 Vitour Galaxy WSW On Chevrolet Apache 4 ViewsClick to View | 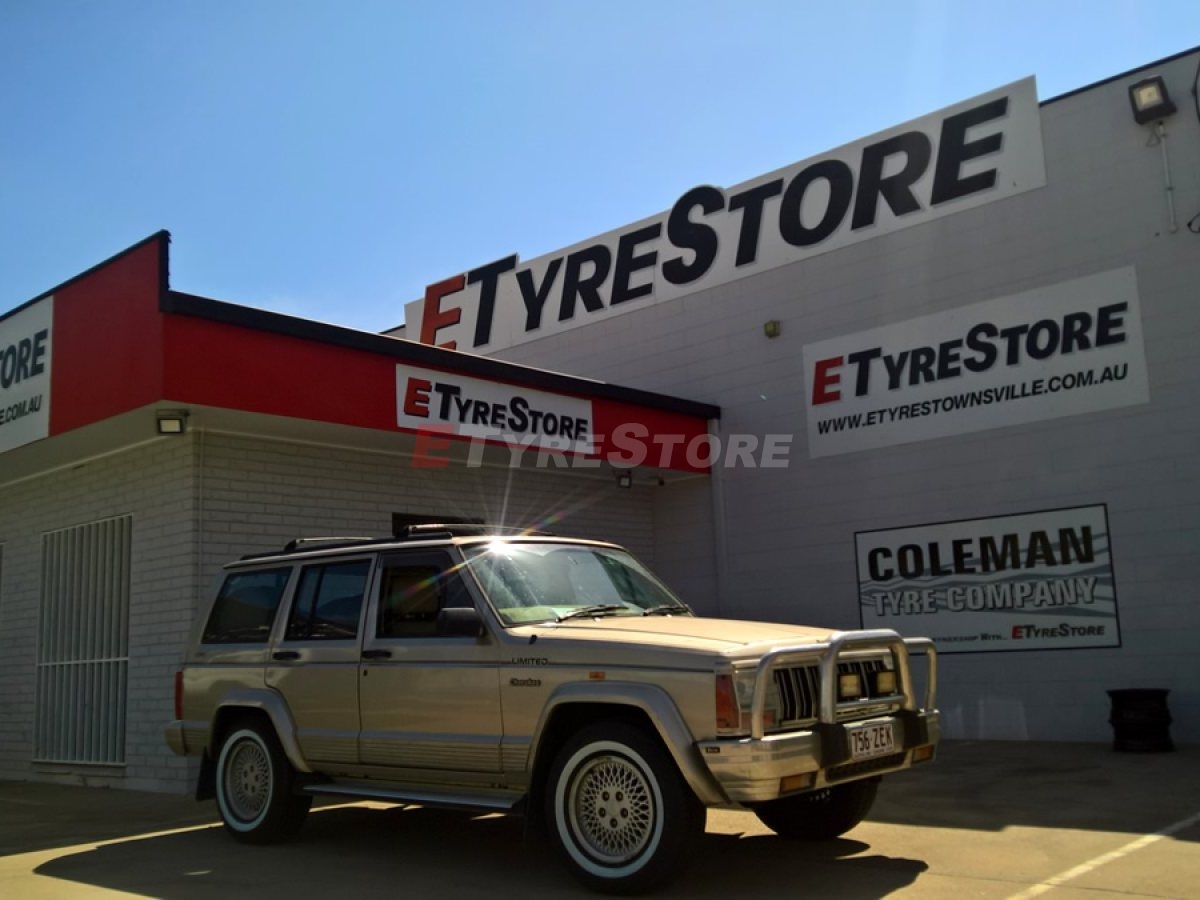 225/75R15 Vitour Galaxy WSW4 ViewsClick to View | 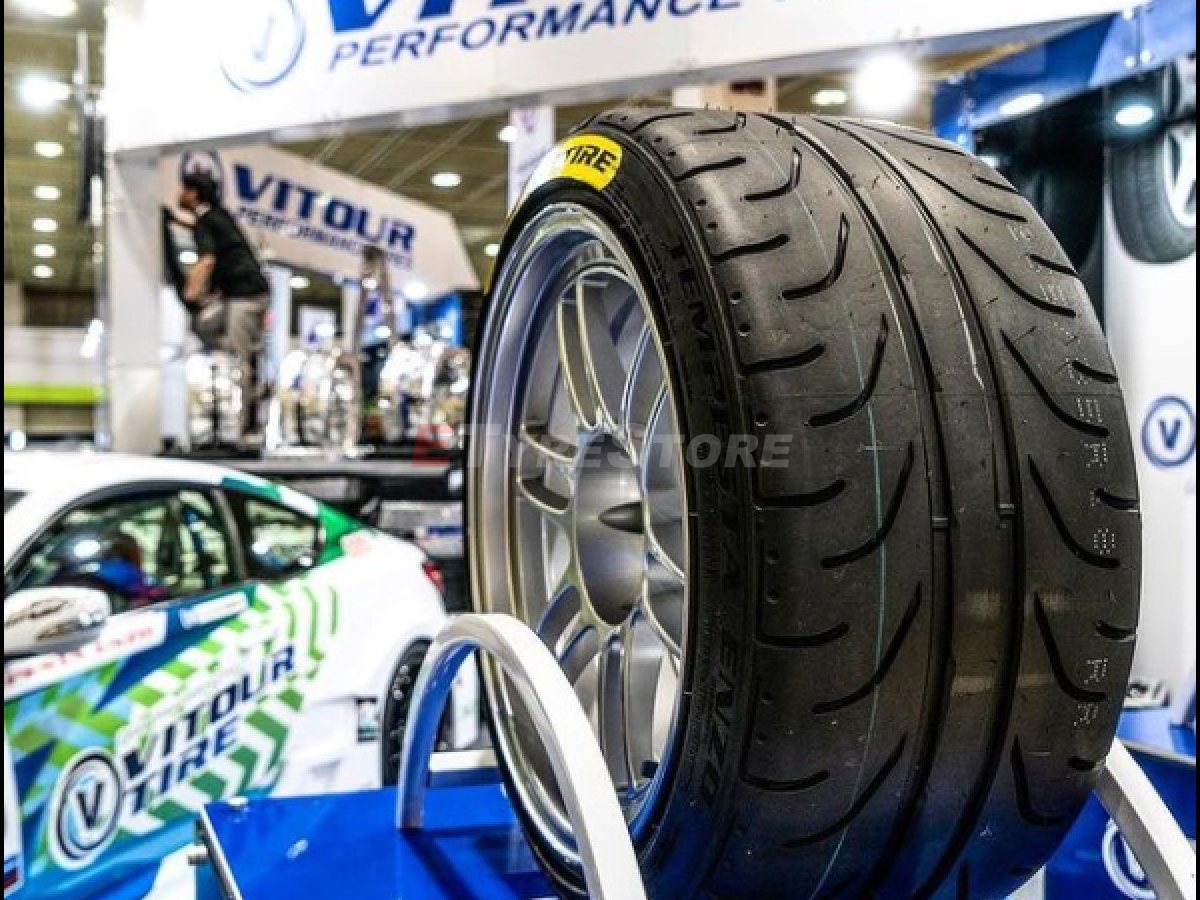 Vitour Show Photo5 ViewsClick to View |
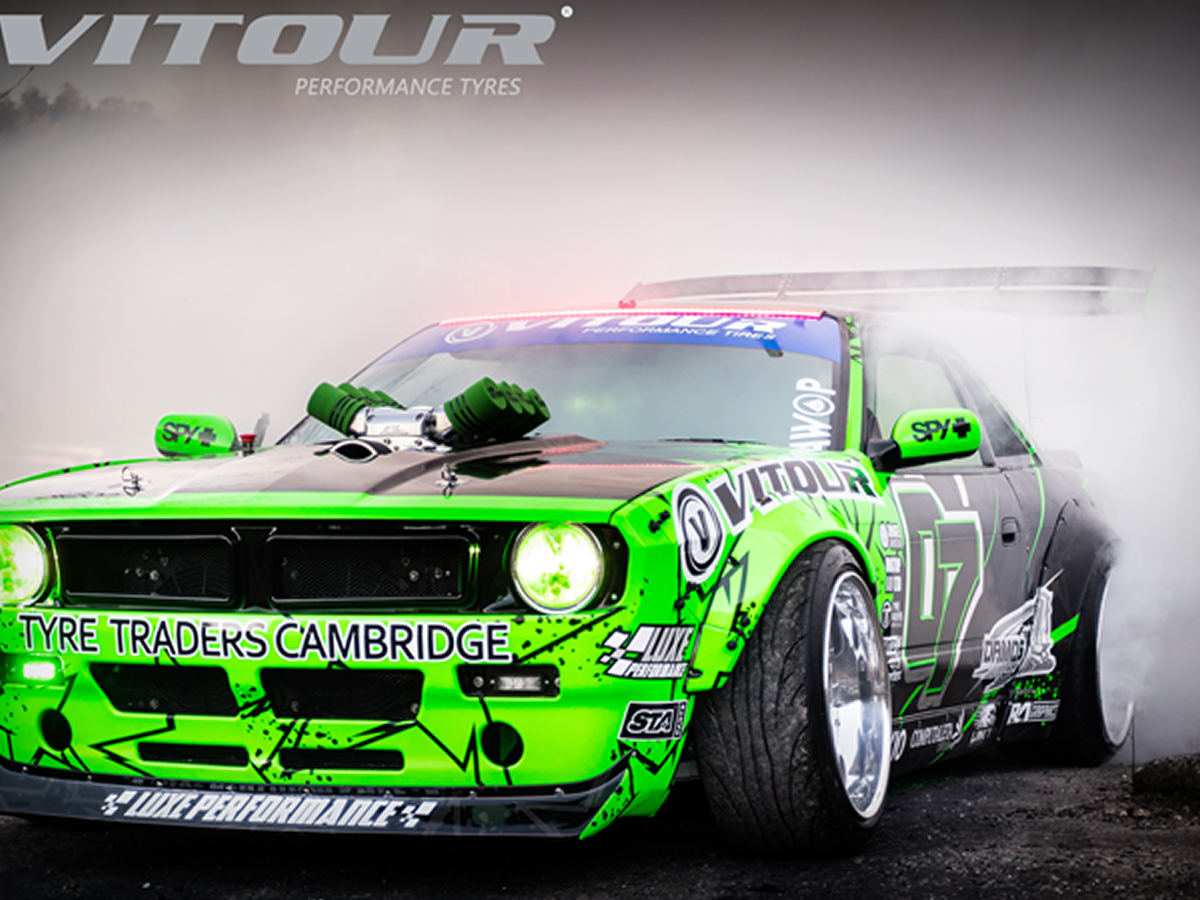
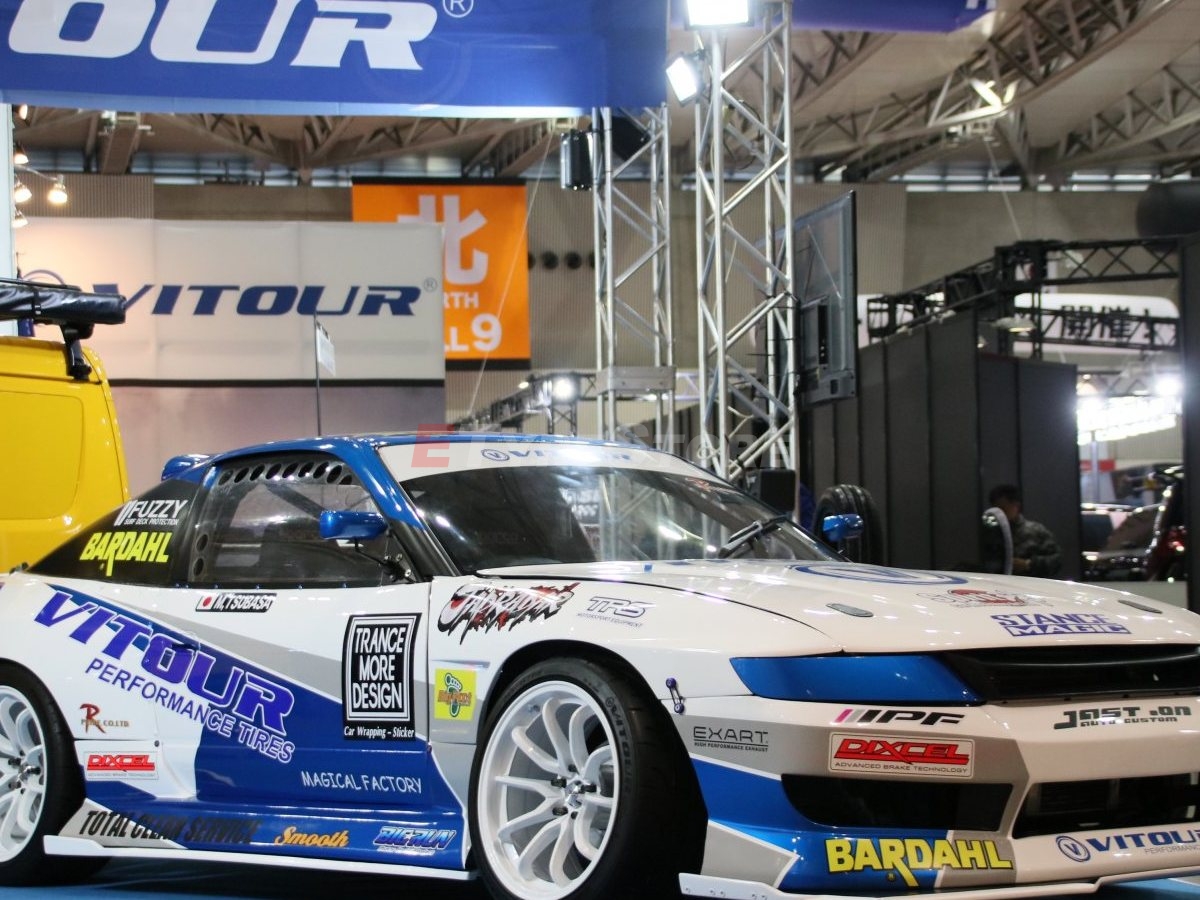
 Vitour Tempesta Quattro HT2 ViewsClick to View | 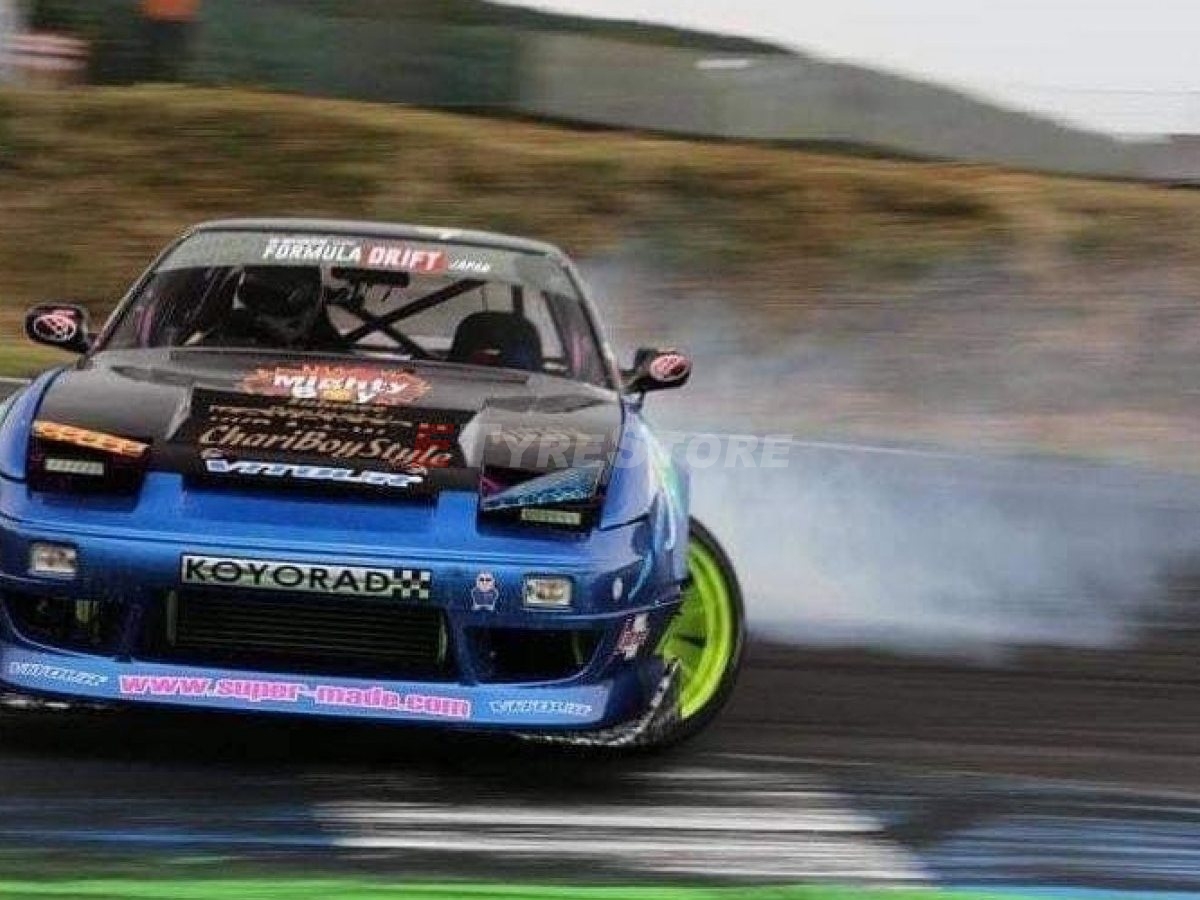 Drifting With Vitour2 ViewsClick to View | 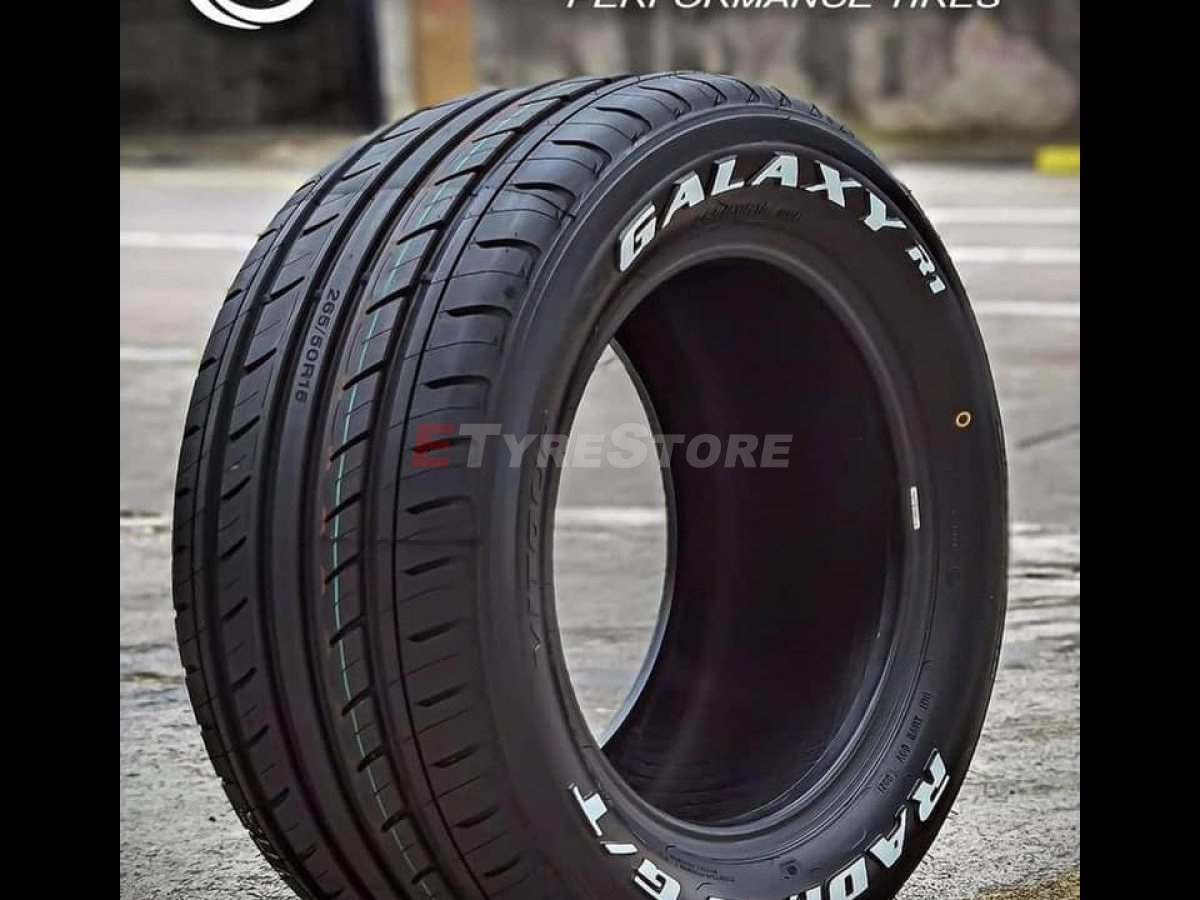 Vitour2 ViewsClick to View |
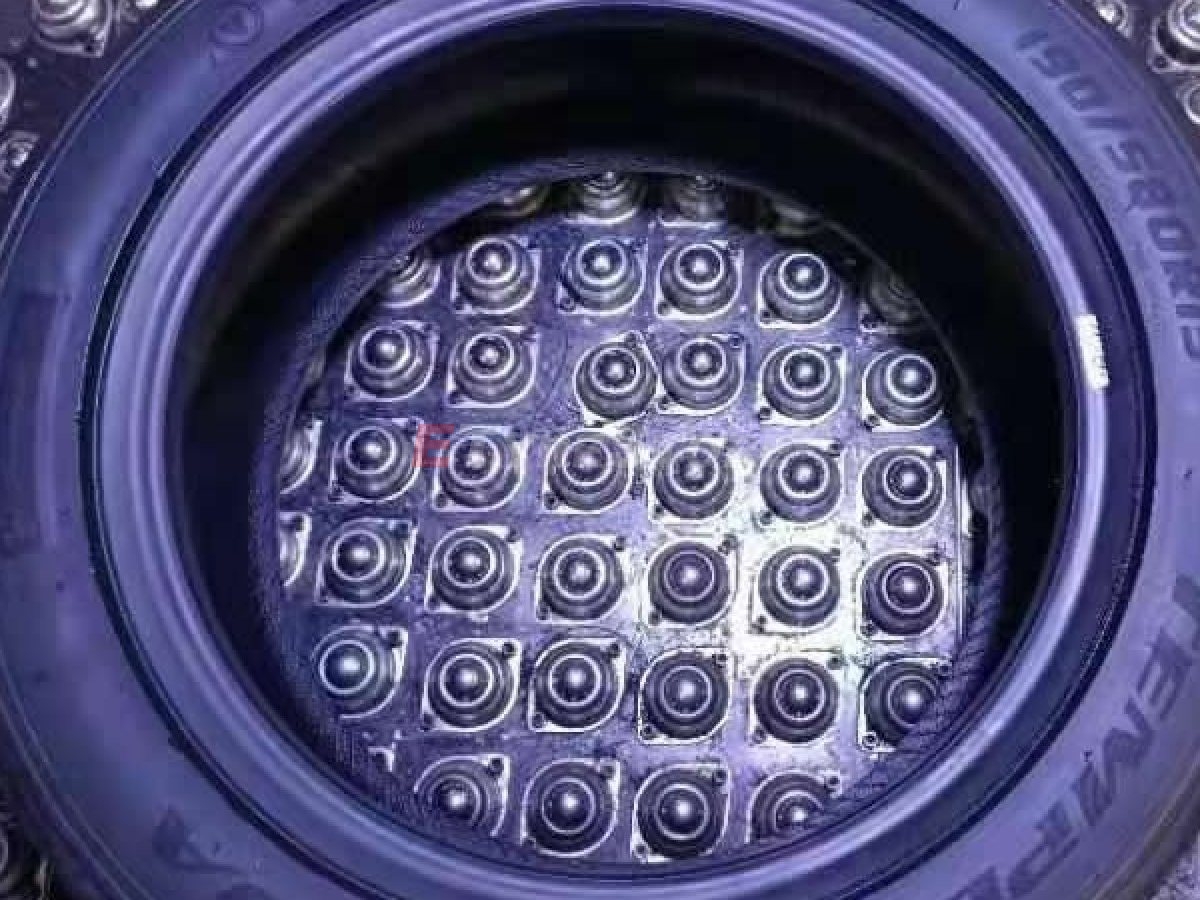
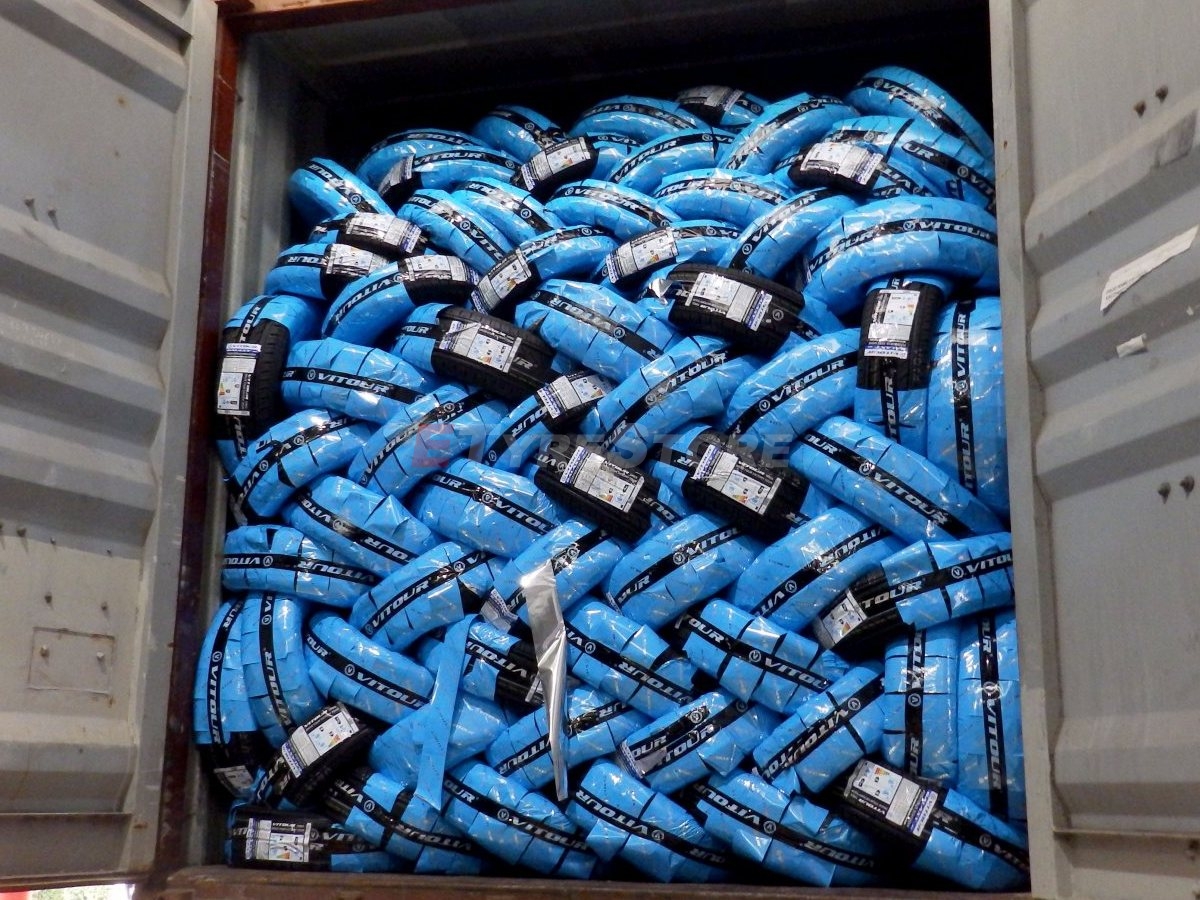
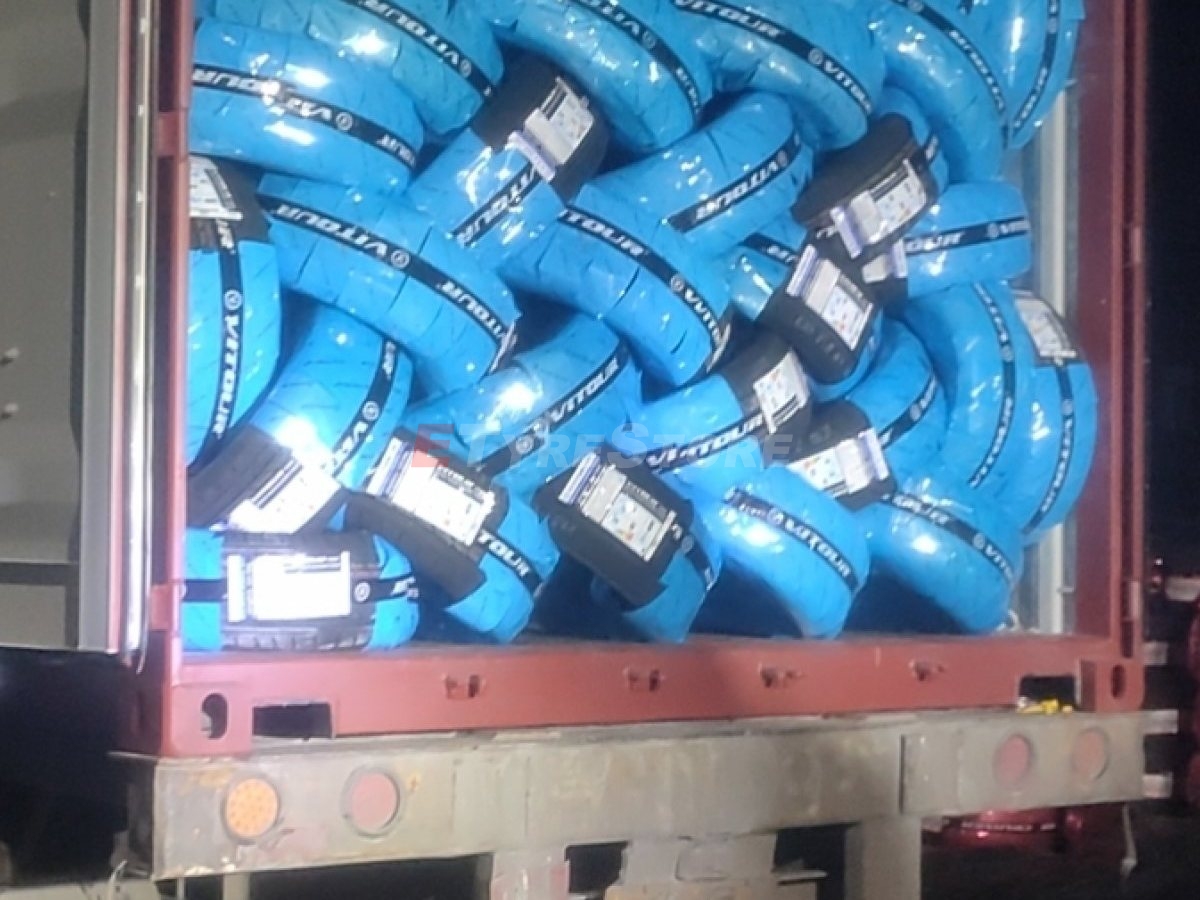 Loading Container2 ViewsClick to View | 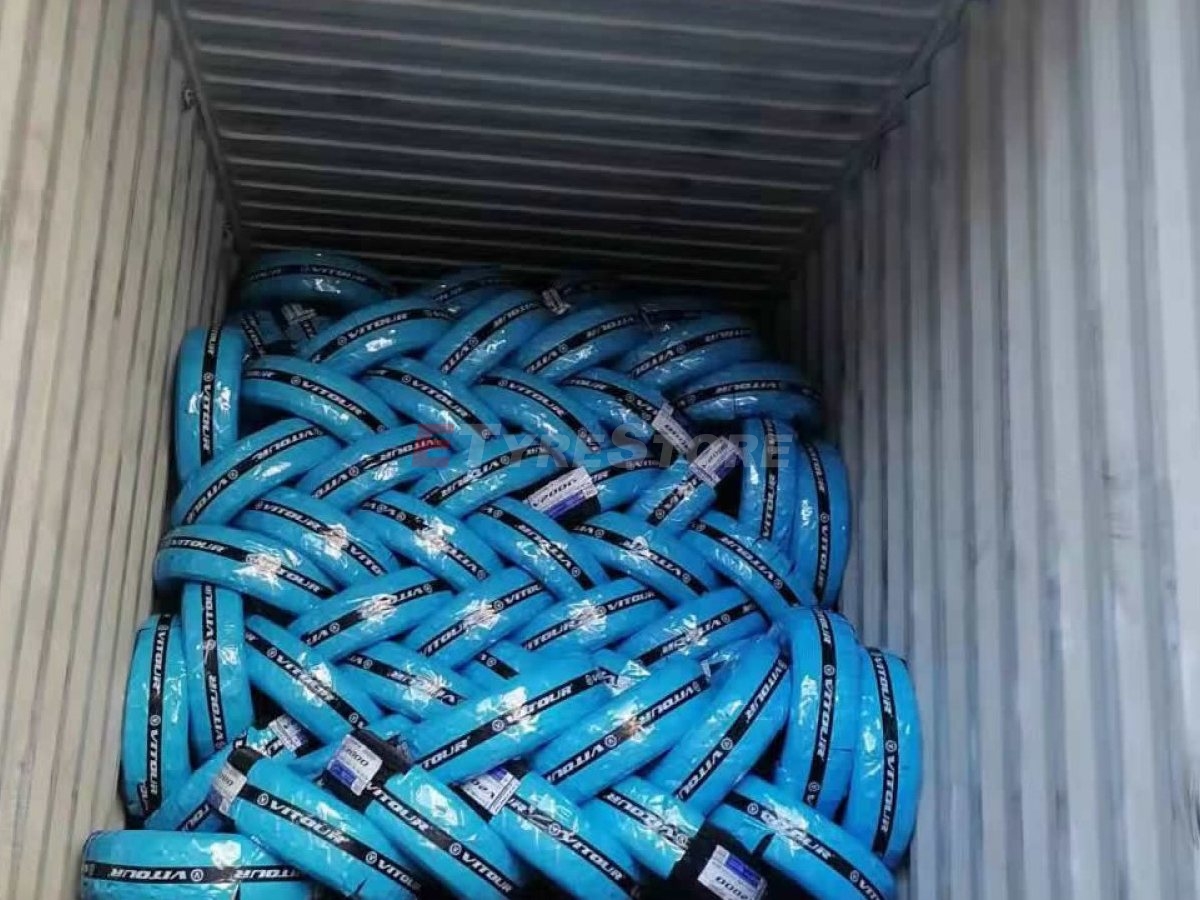 Container Loading At Vitour Factory2 ViewsClick to View | 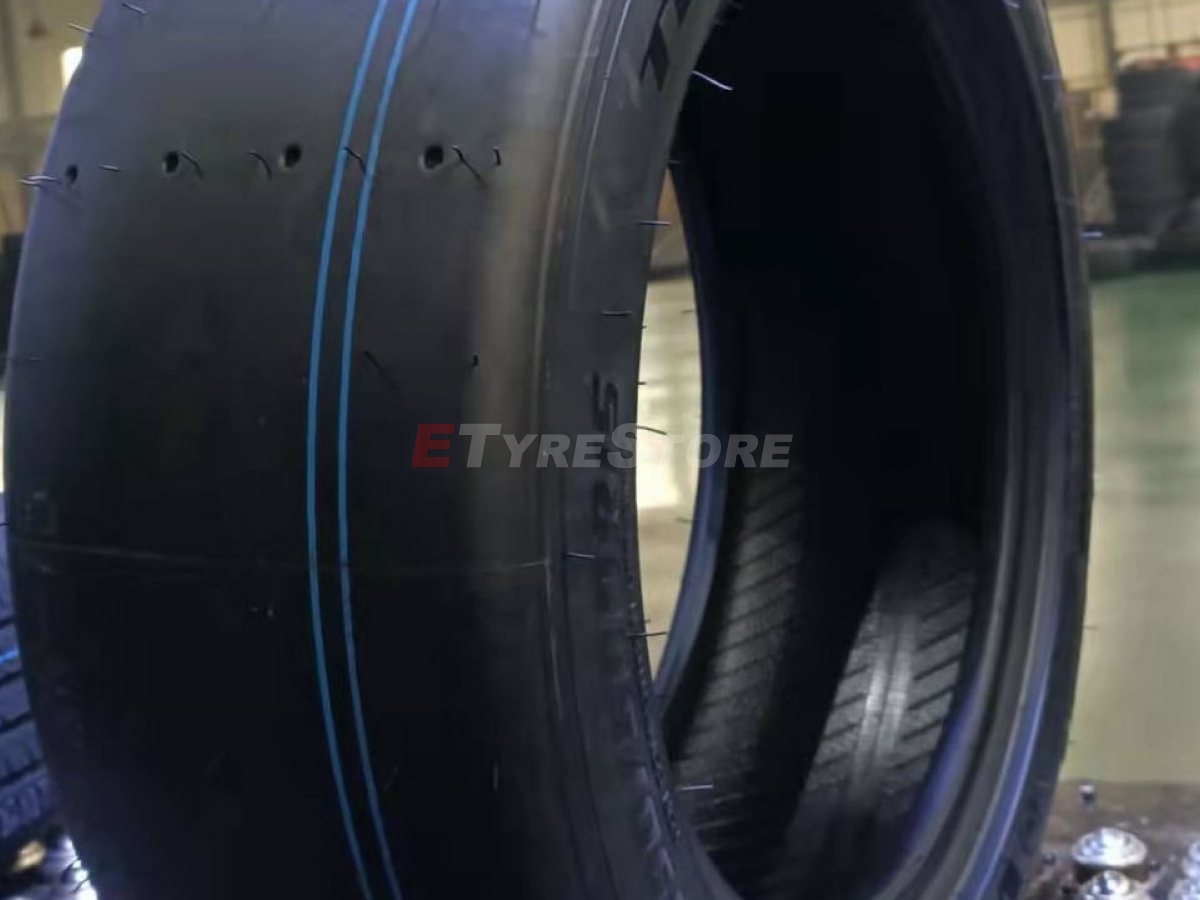 15 Inch Full Slick4 ViewsClick to View |
 15 Inch Full Slick Vitour Tempesta Zonda!4 ViewsClick to View |  Vitour Container On The Way To North Queensland2 ViewsClick to View | 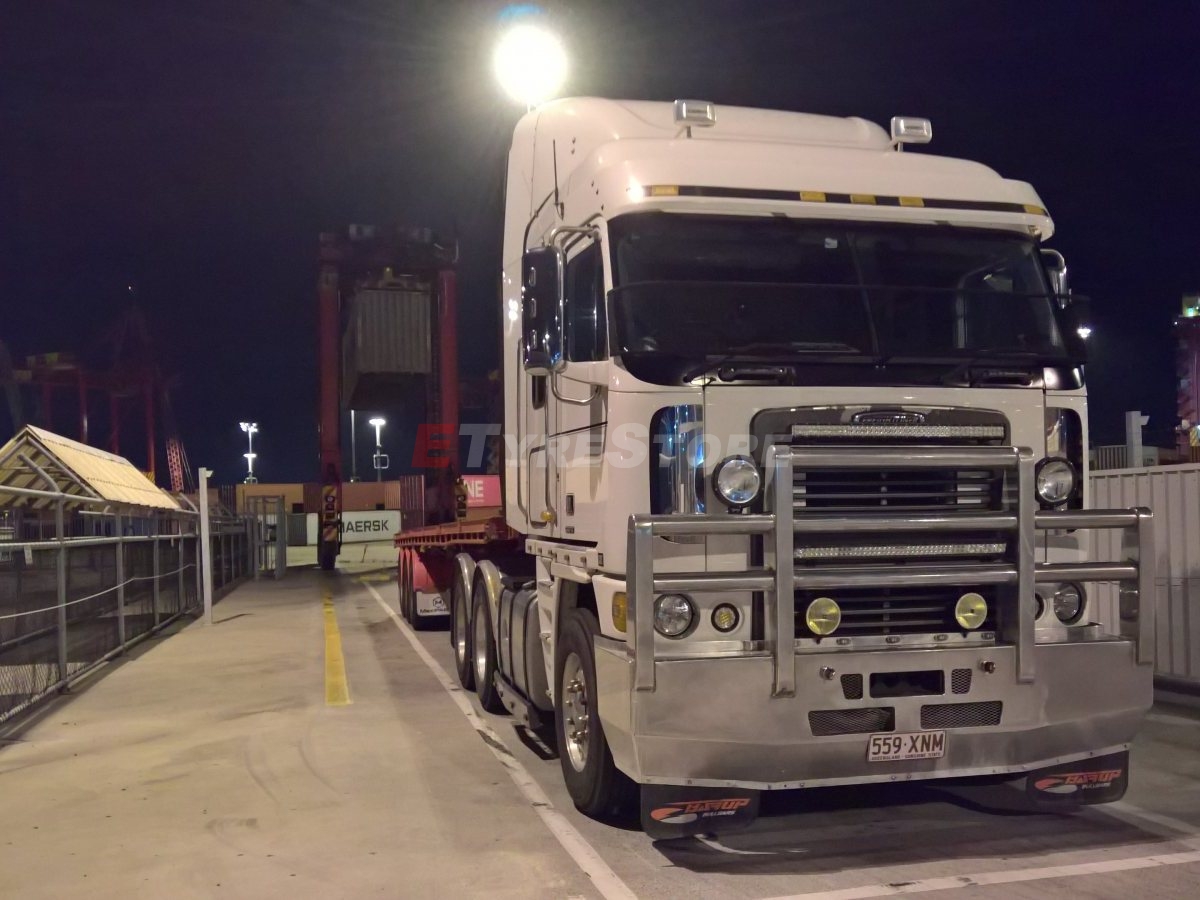 Another Vitour Container Coming Into Brisbane2 ViewsClick to View |
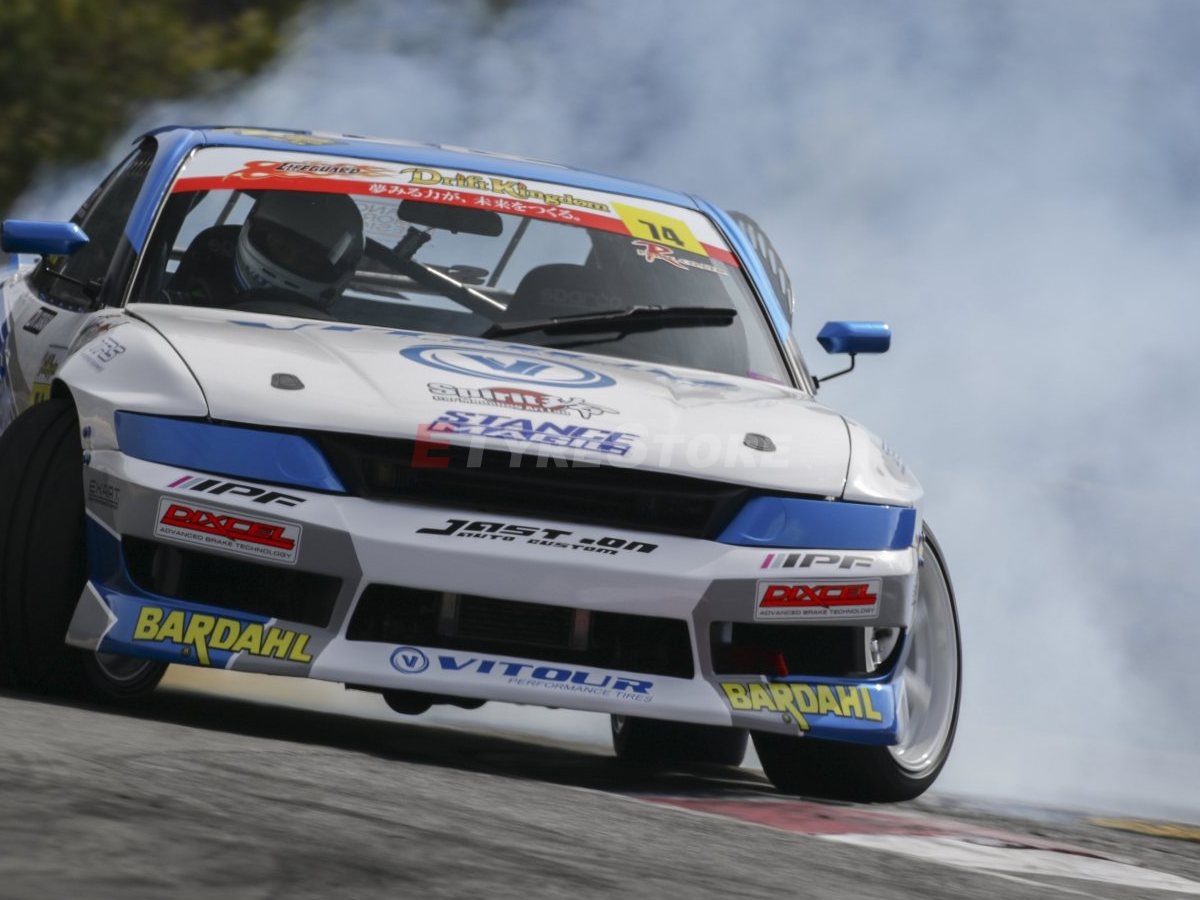 Vitour Drifting2 ViewsClick to View | 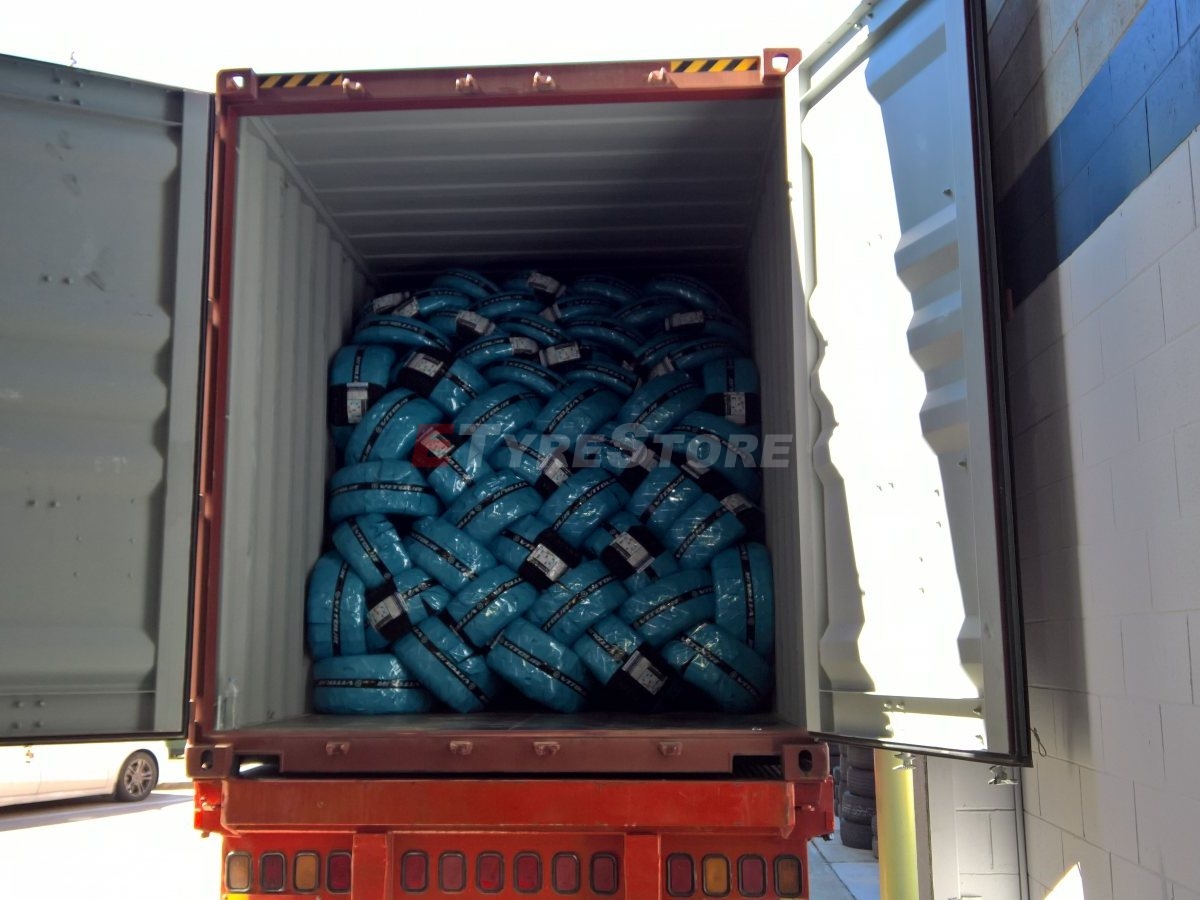 Container Unload2 ViewsClick to View | 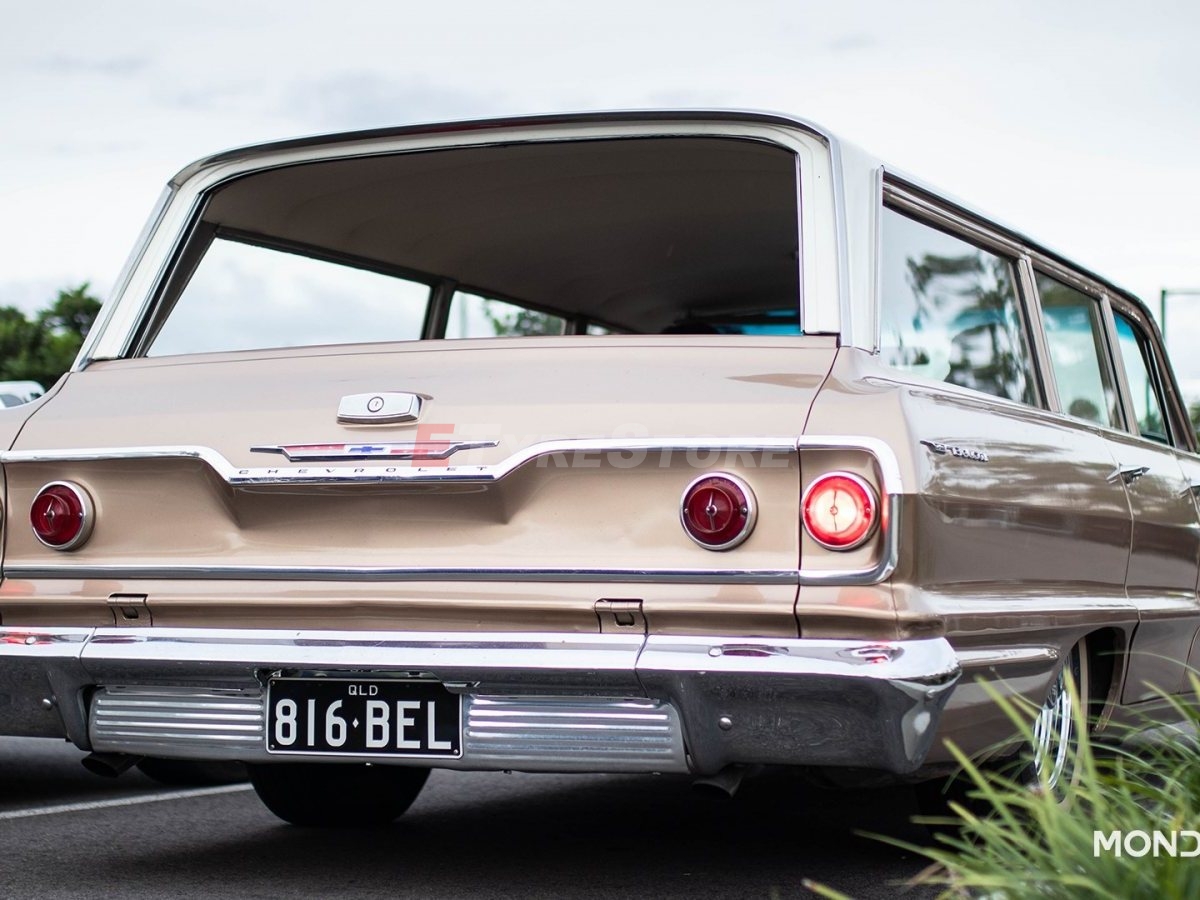 Big Bel2 ViewsClick to View |
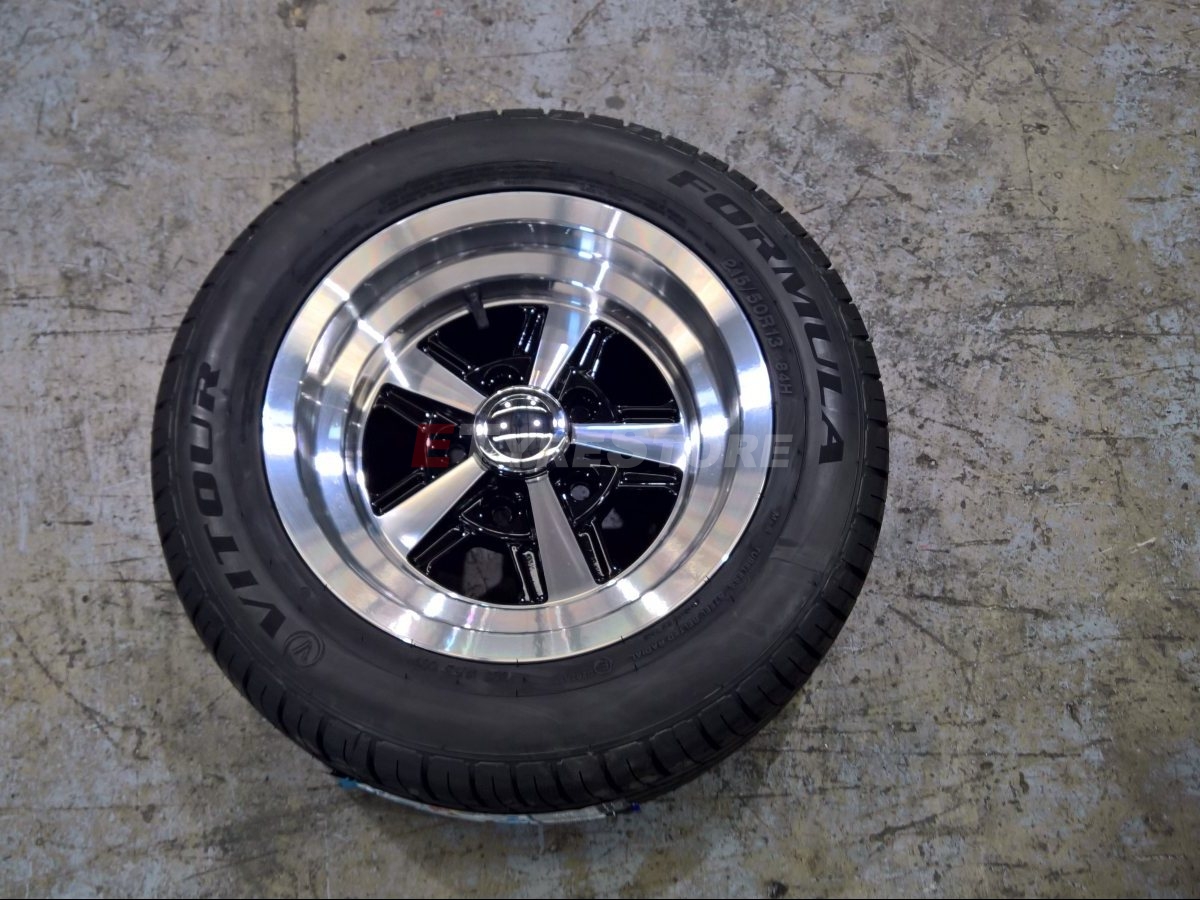
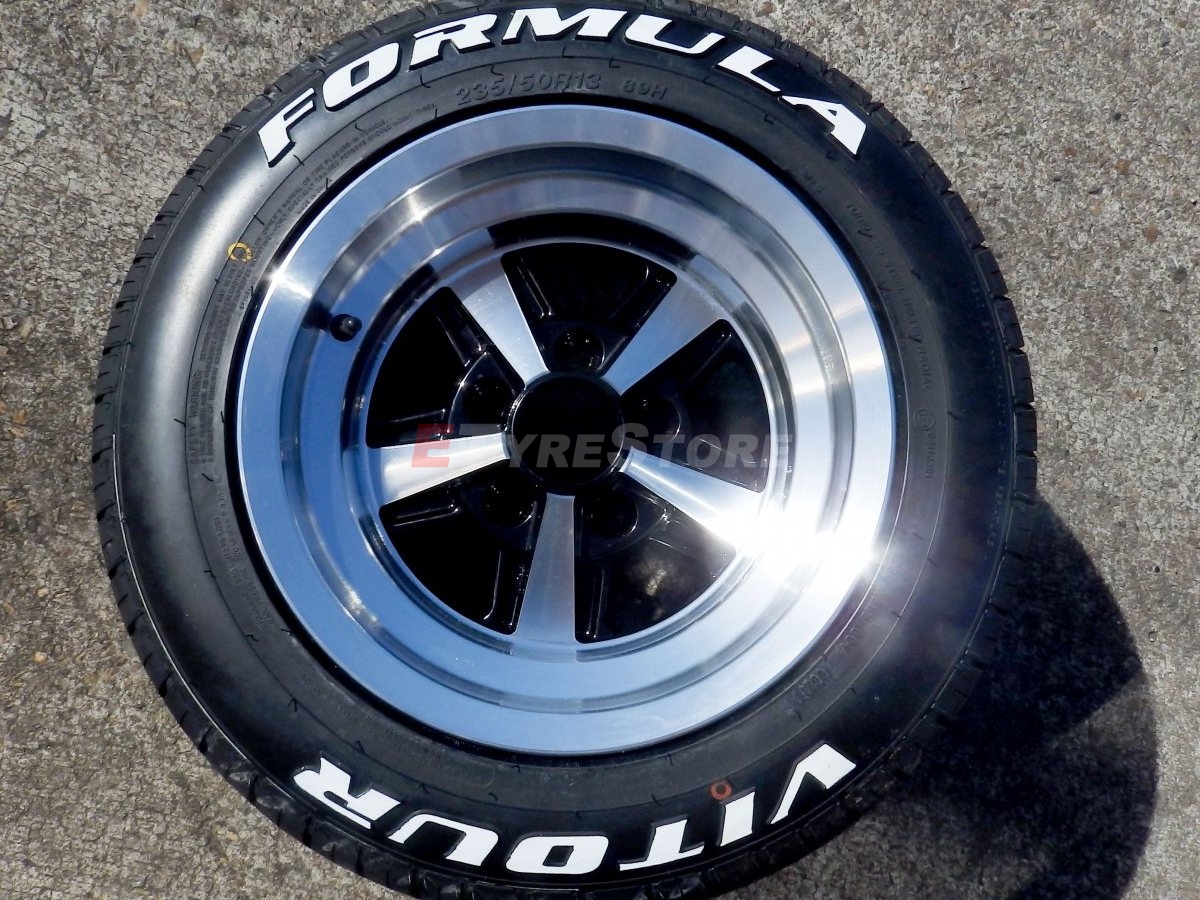
 Townsville White Walls3 ViewsClick to View | 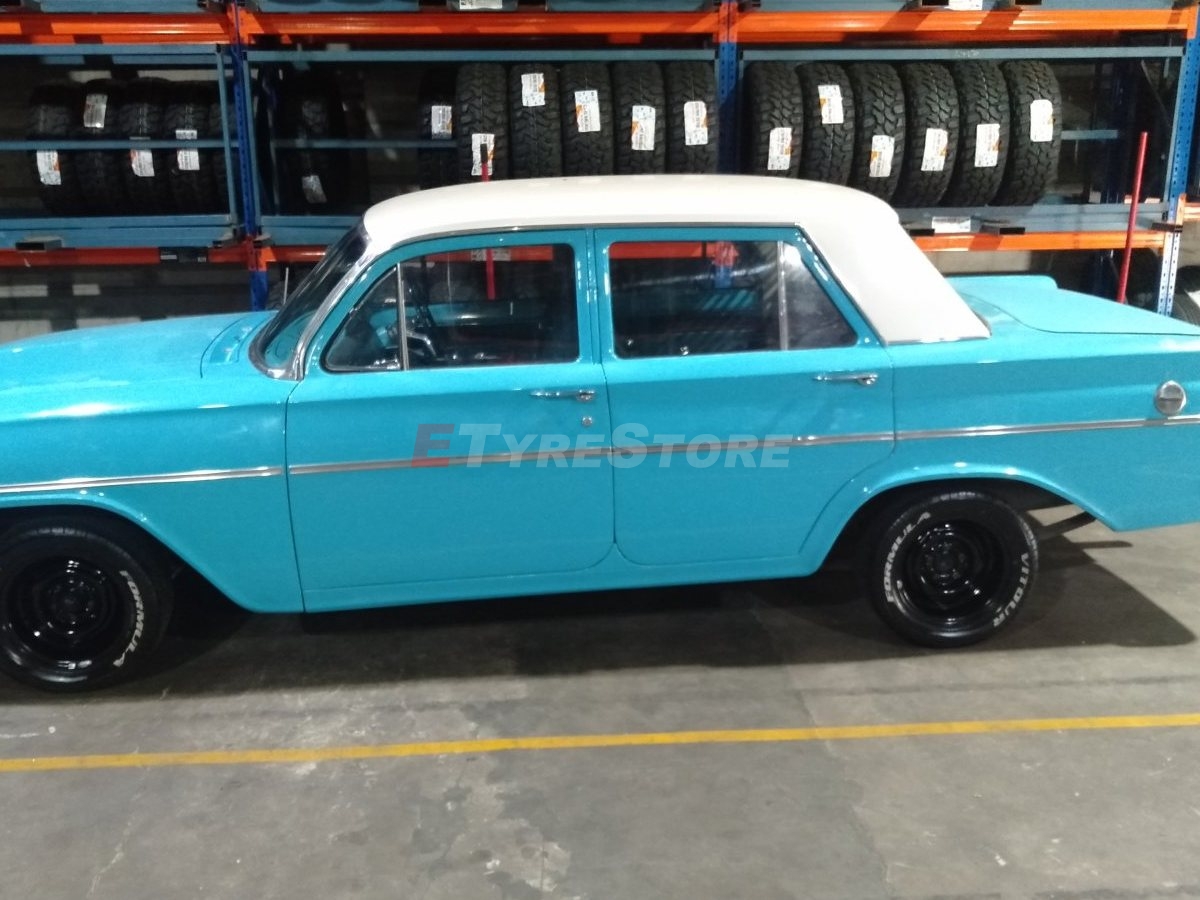 Vitour Formula Tyres7 ViewsClick to View |  Vitour Logo7 ViewsClick to View |
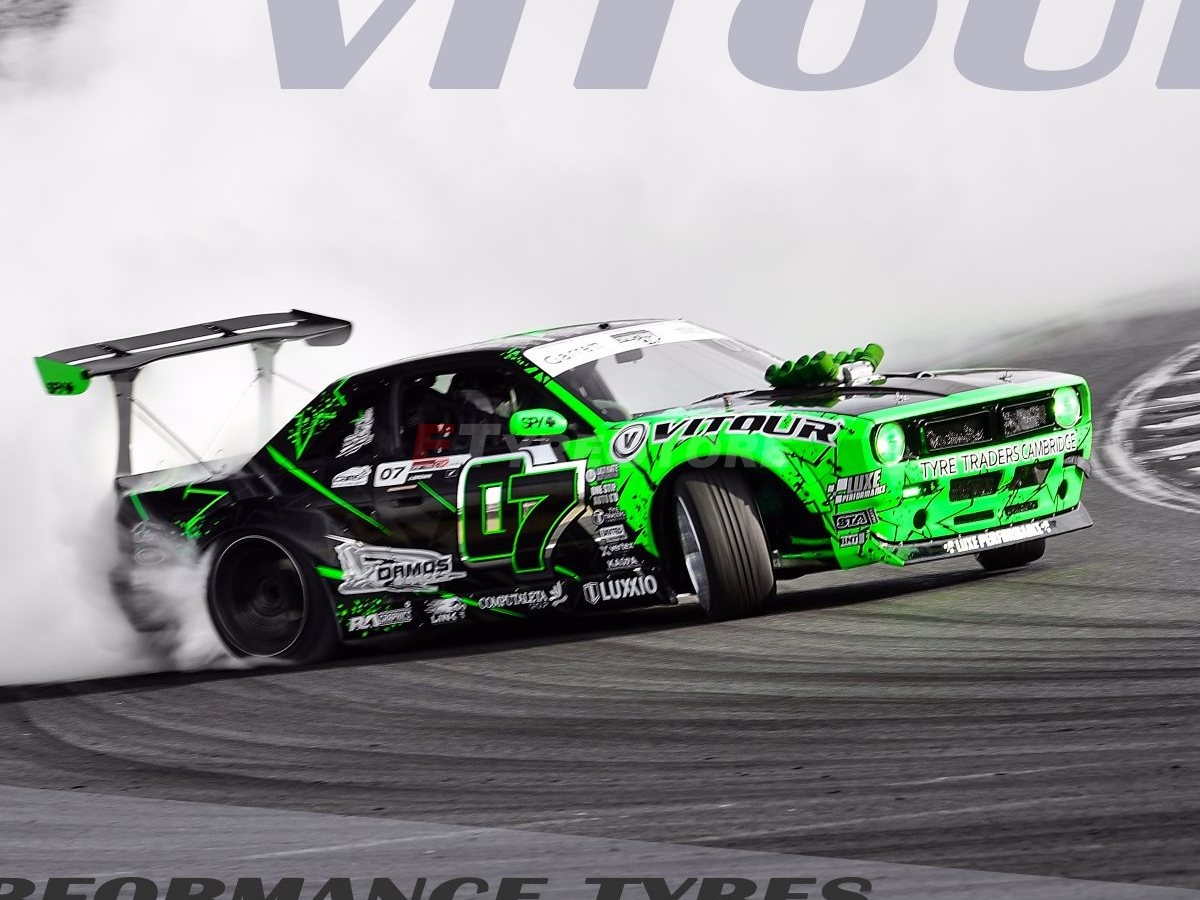
 Vitour Luxe Performance2 ViewsClick to View |  Vitour Semi-slick On Rim4 ViewsClick to View | 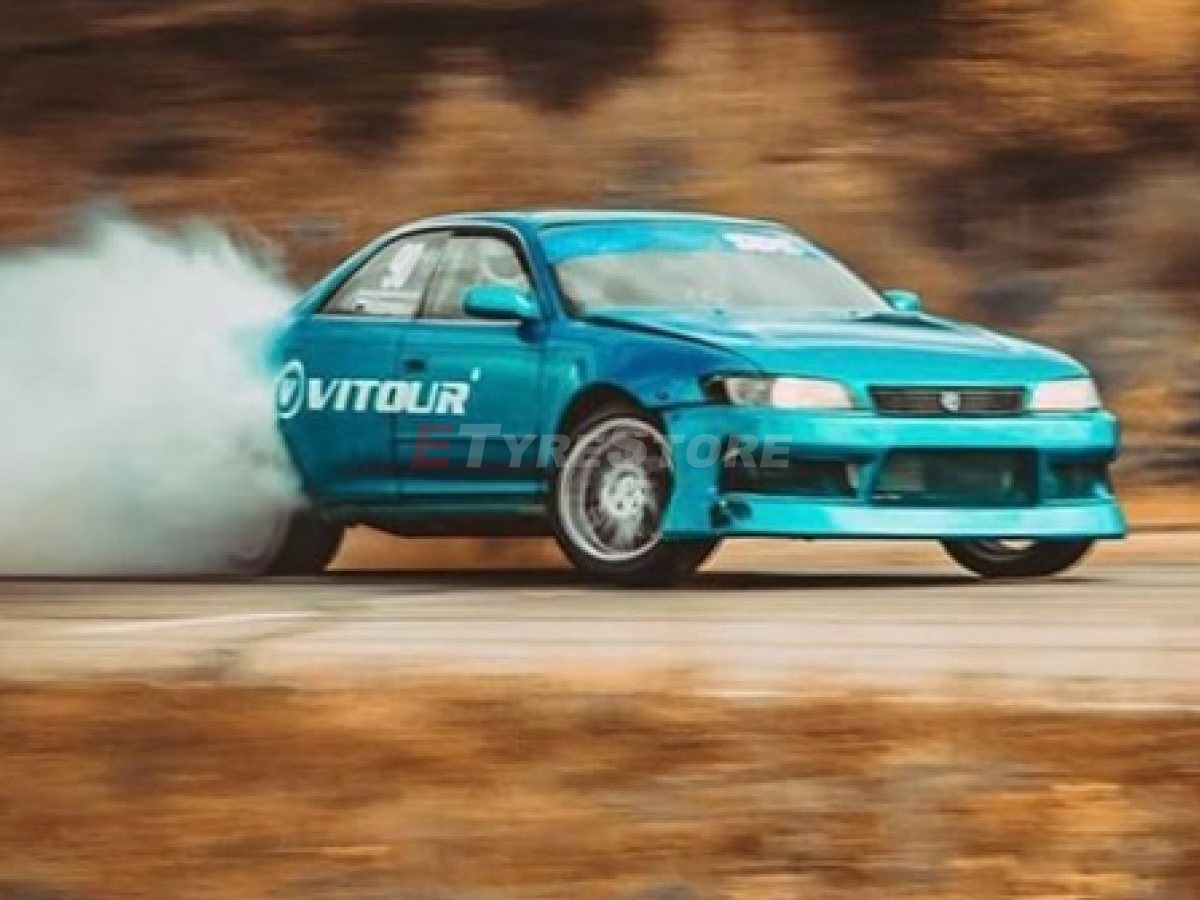 Vitour Drift4 ViewsClick to View |
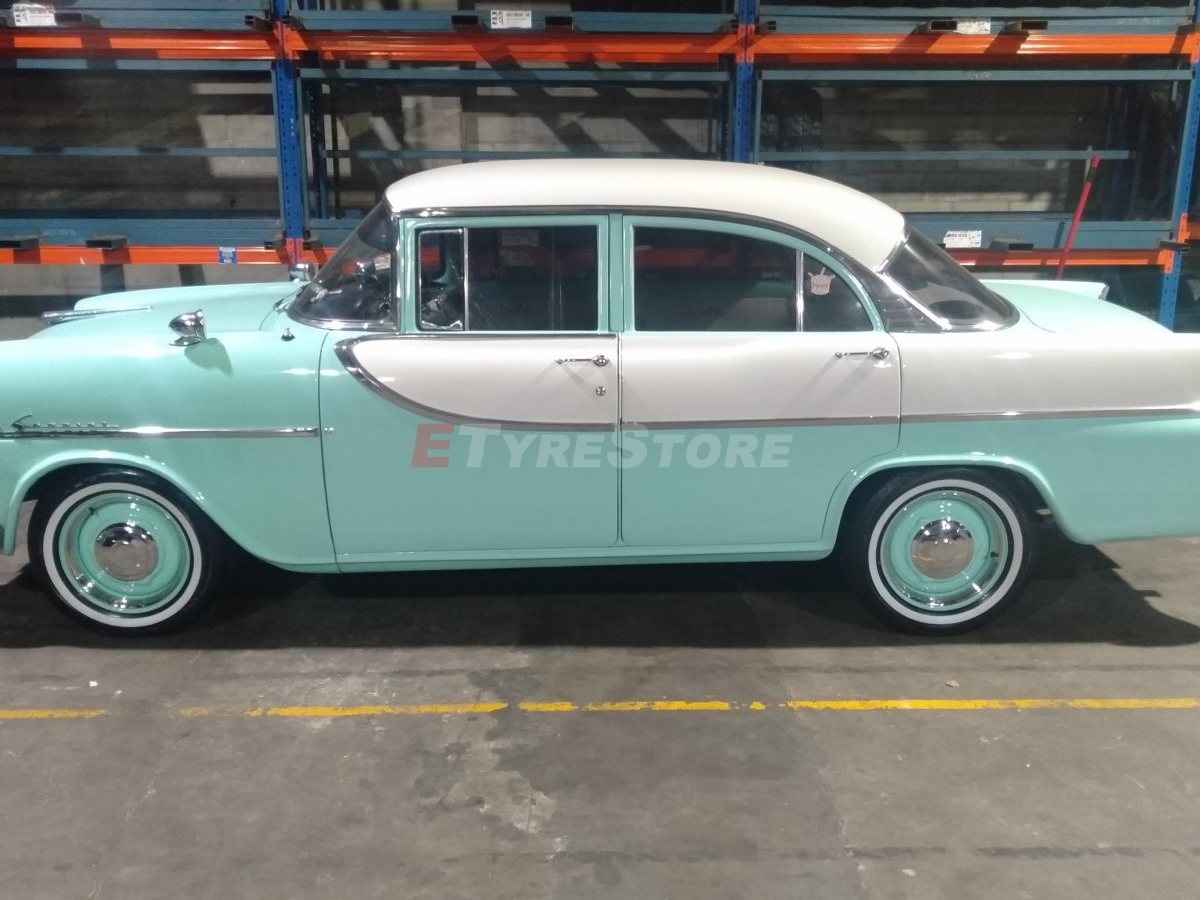
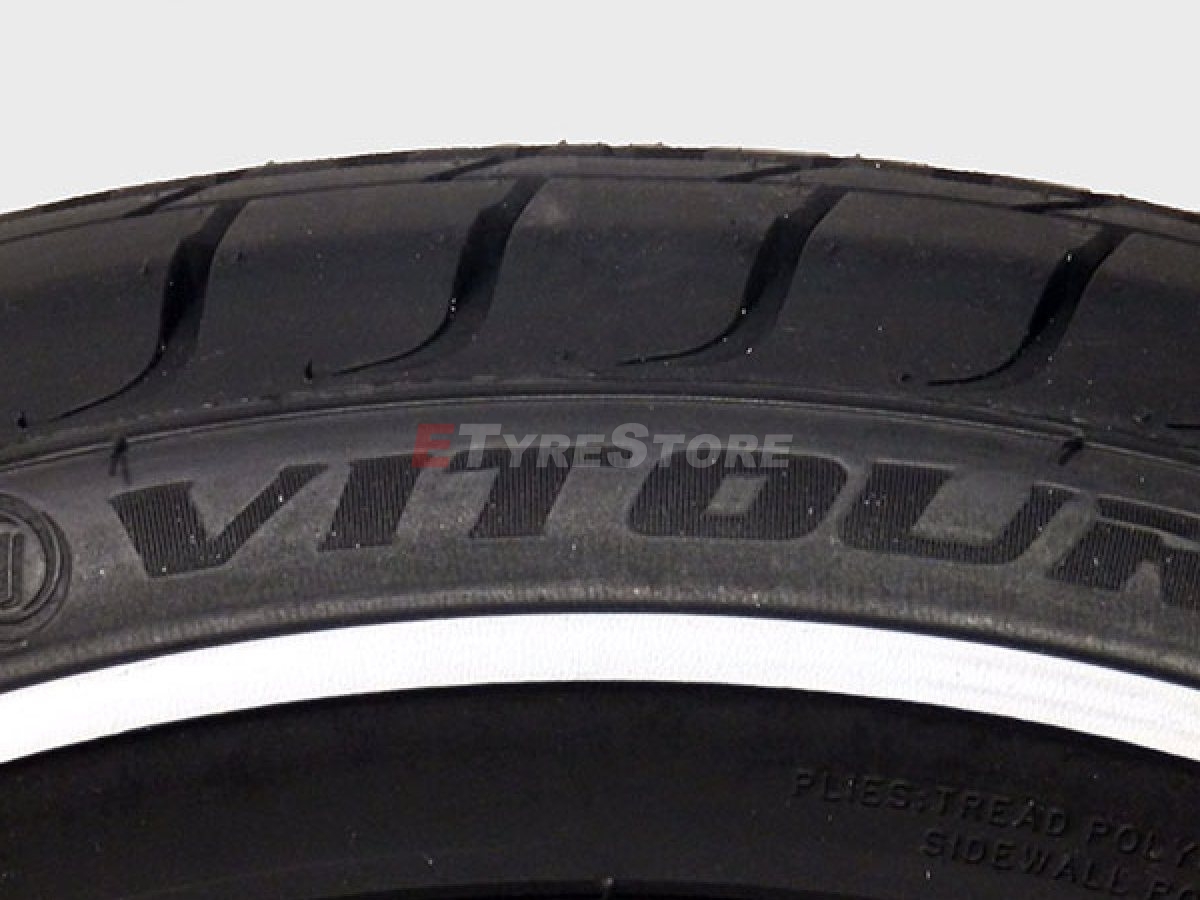
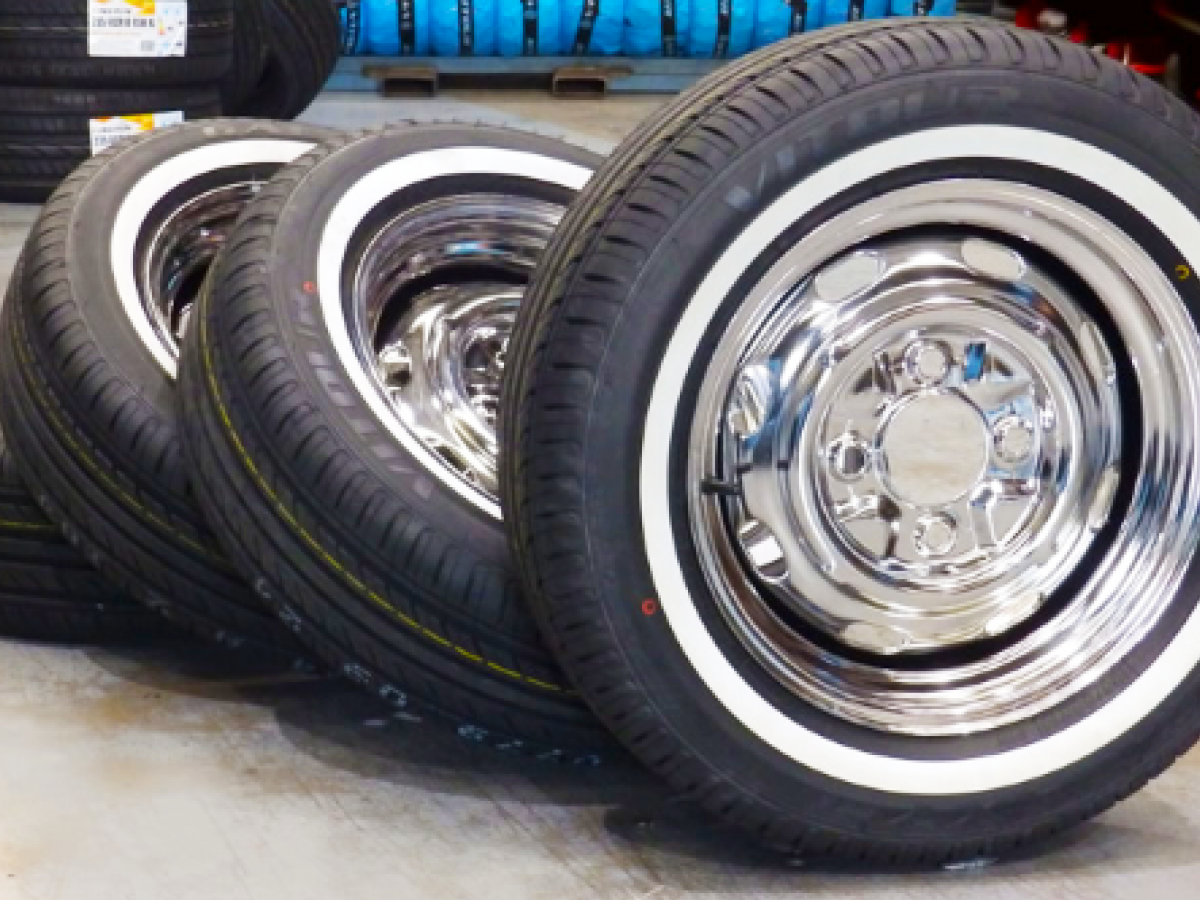 Vitour White Wall Tyres.5 ViewsClick to View |  Galaxy R15 ViewsClick to View | 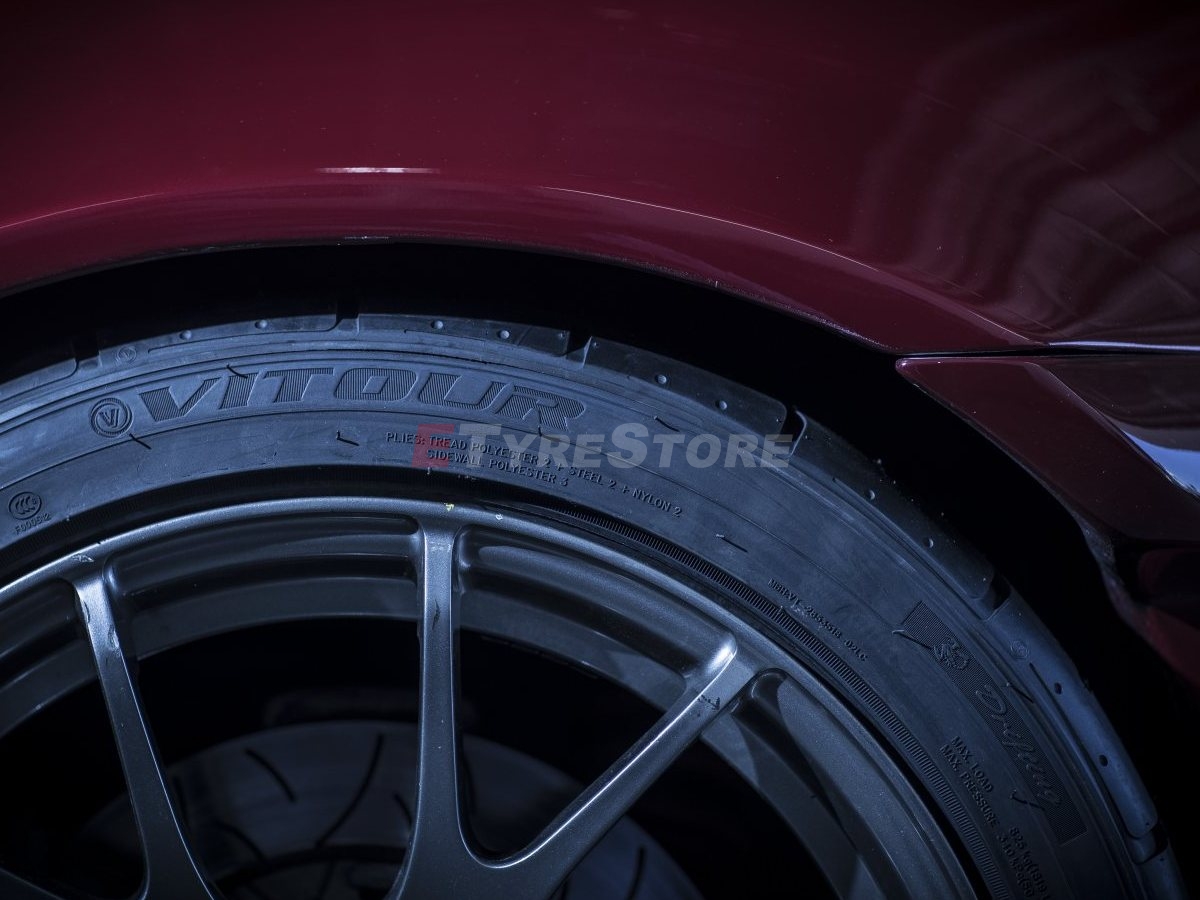 Vitour Photo5 ViewsClick to View |
 Vitour Performance3 ViewsClick to View | 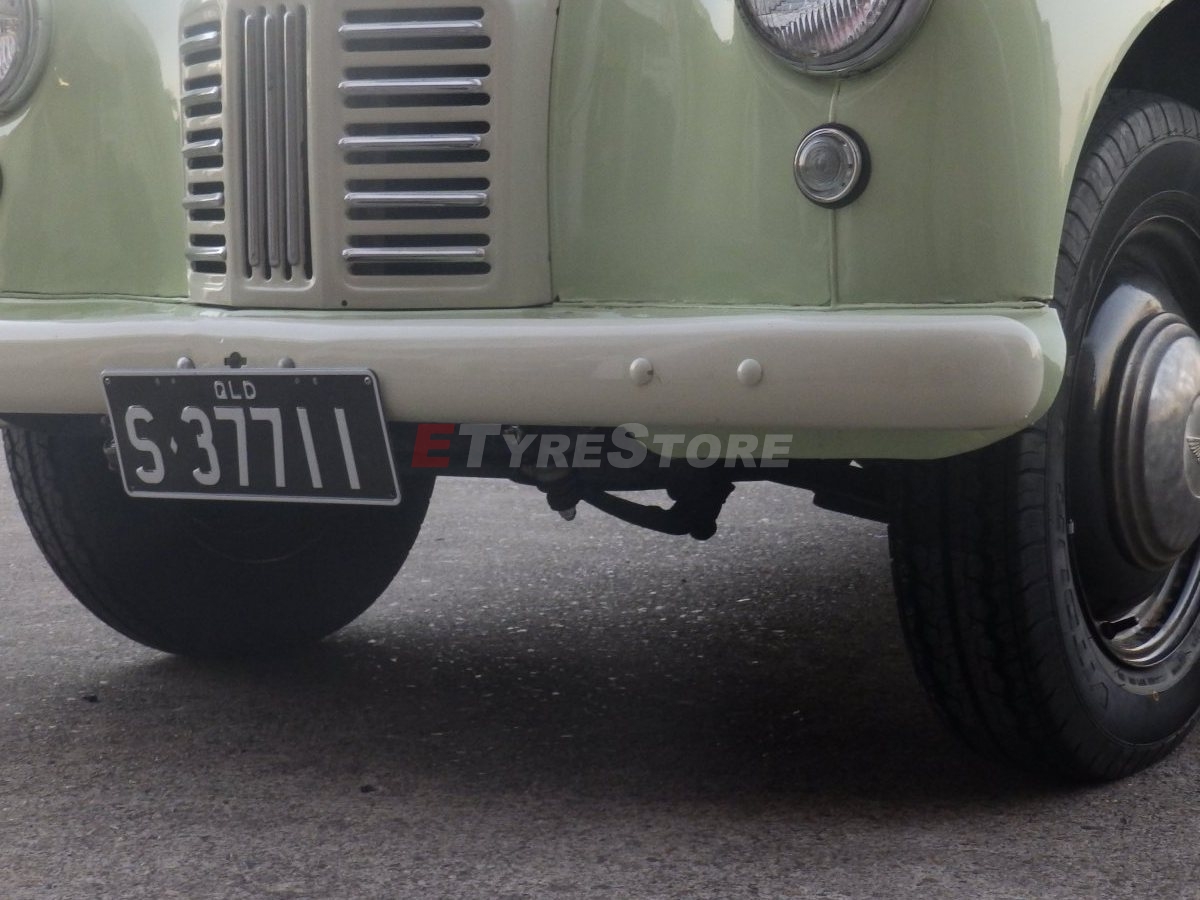 Vitour Taxi Tyres3 ViewsClick to View |  Vitour Performance Tyres2 ViewsClick to View |
 Vitour Vehicle2 ViewsClick to View | 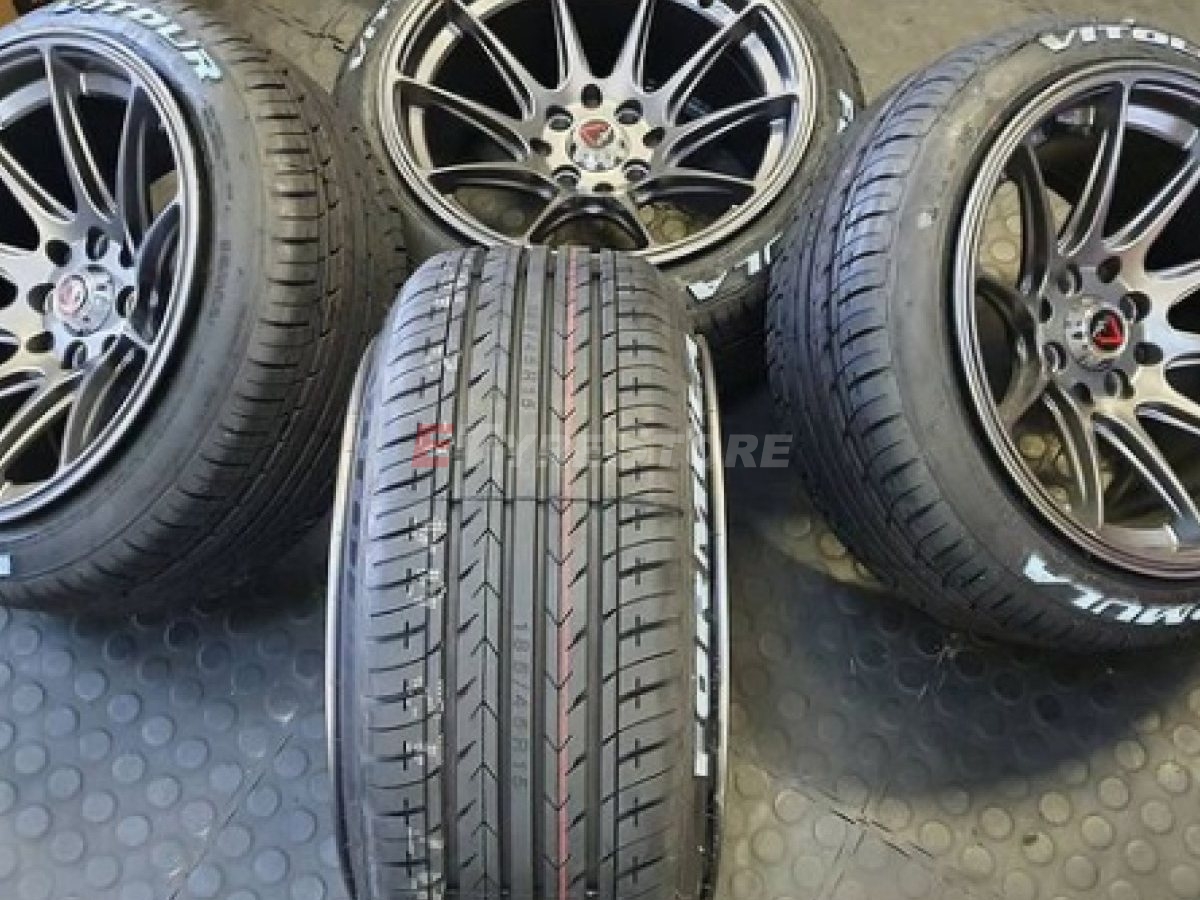 Vitour Formulas4 ViewsClick to View | 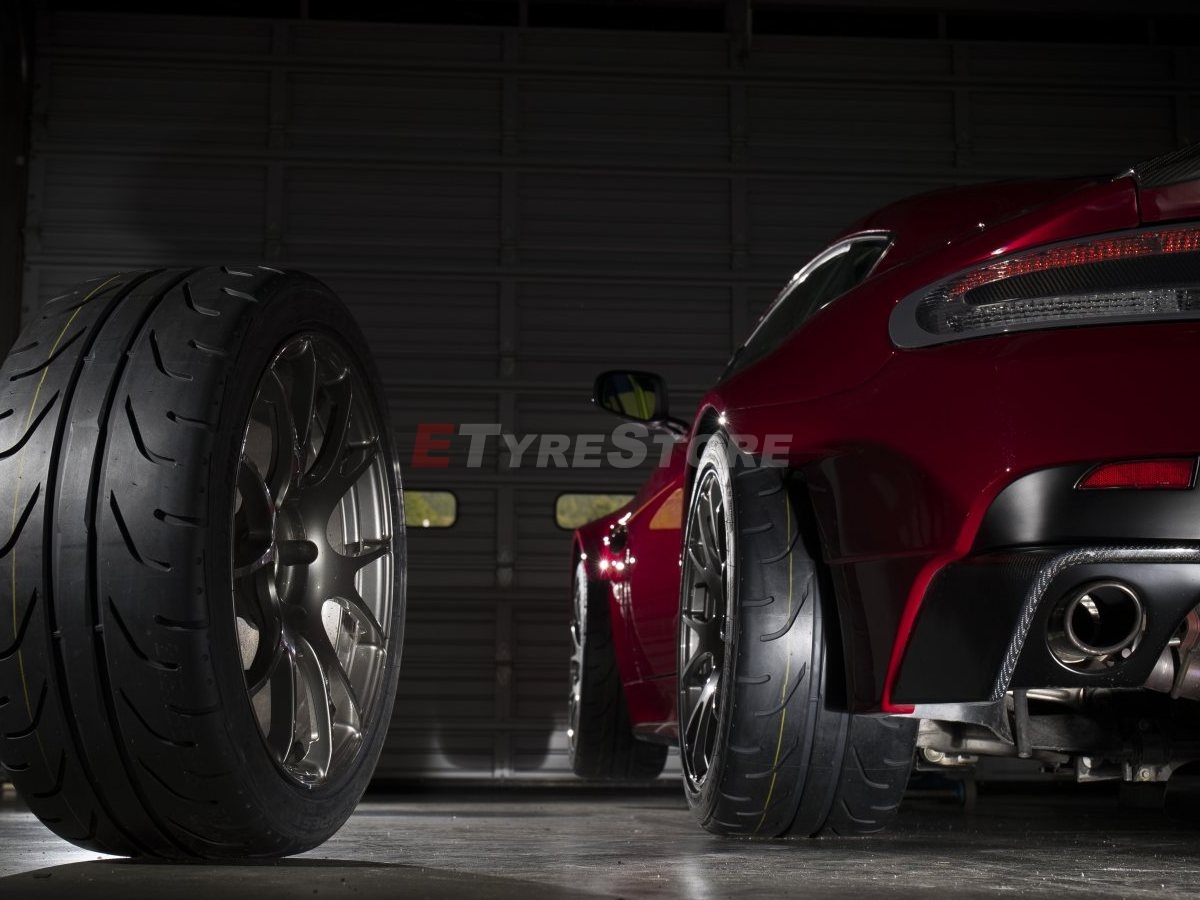 Vitour Semi-slicks4 ViewsClick to View |
 Vitour Raised White Letter3 ViewsClick to View | 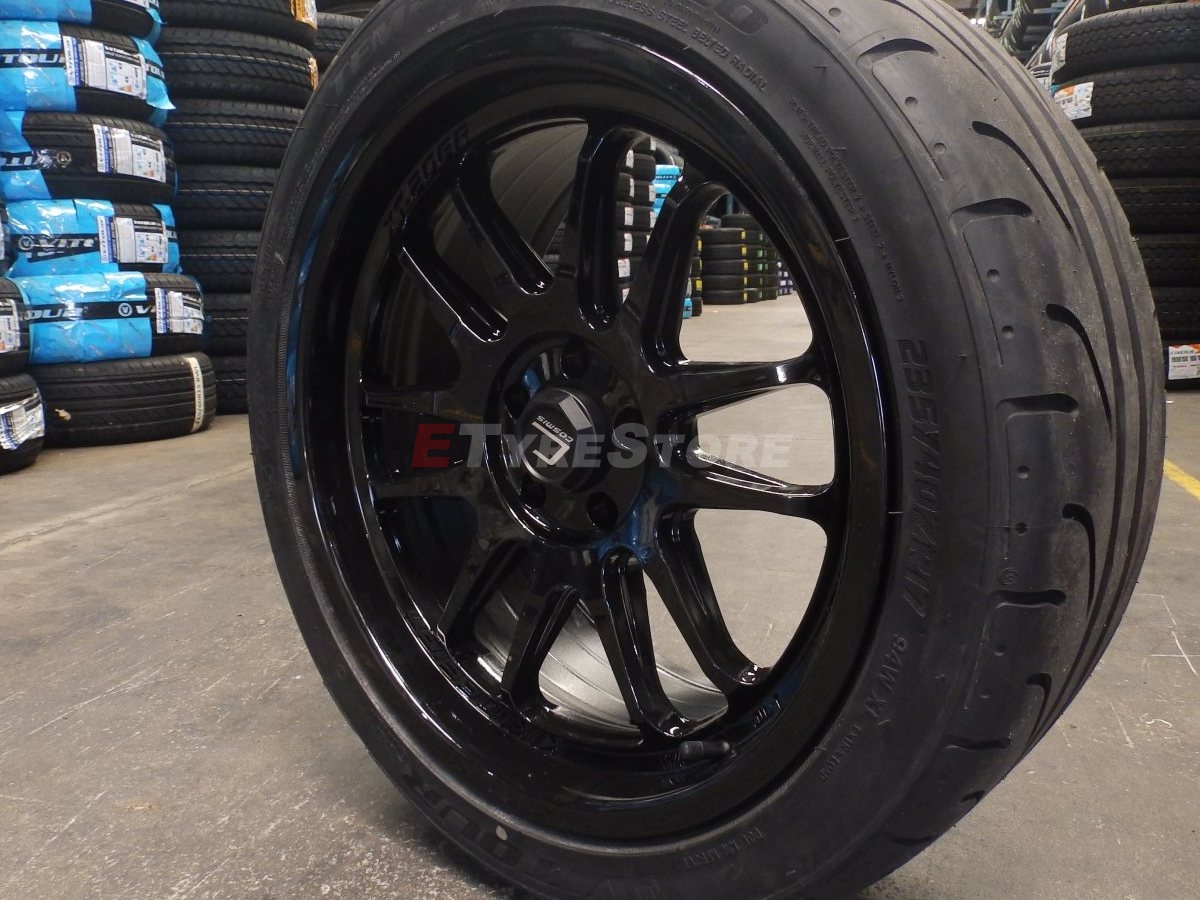 Vitour Semi-slick2 ViewsClick to View | 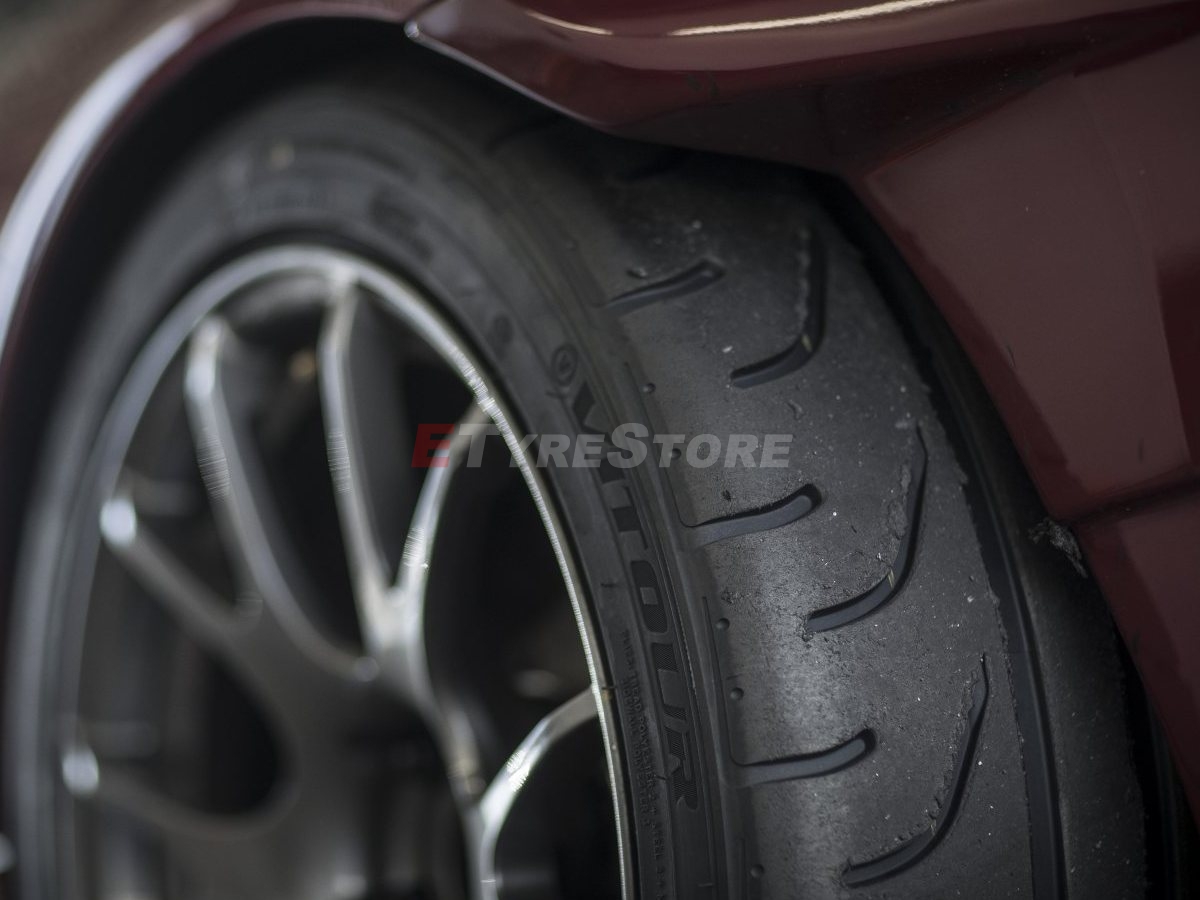 Vitour Semi-slick2 ViewsClick to View |
 Vitour Formulas2 ViewsClick to View | 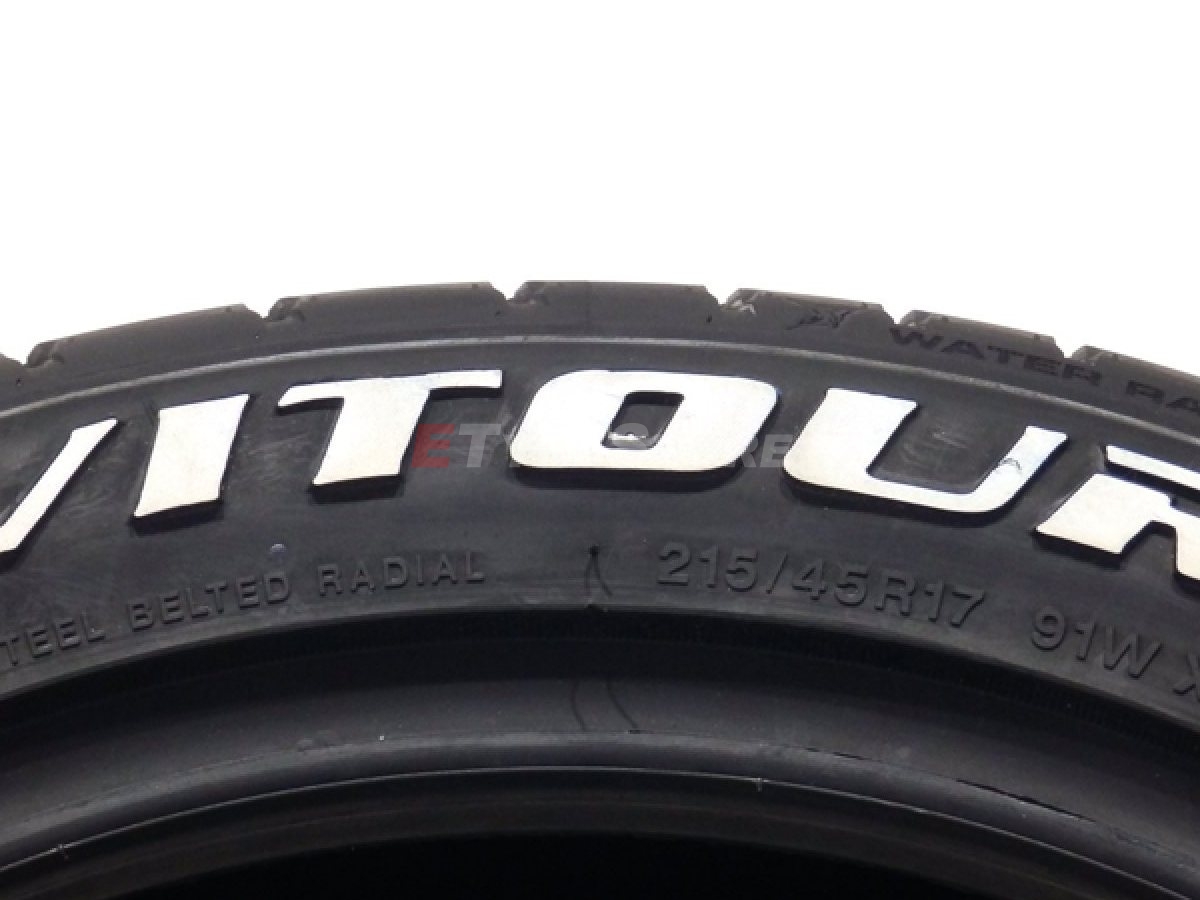 Vitour Formula2 ViewsClick to View | 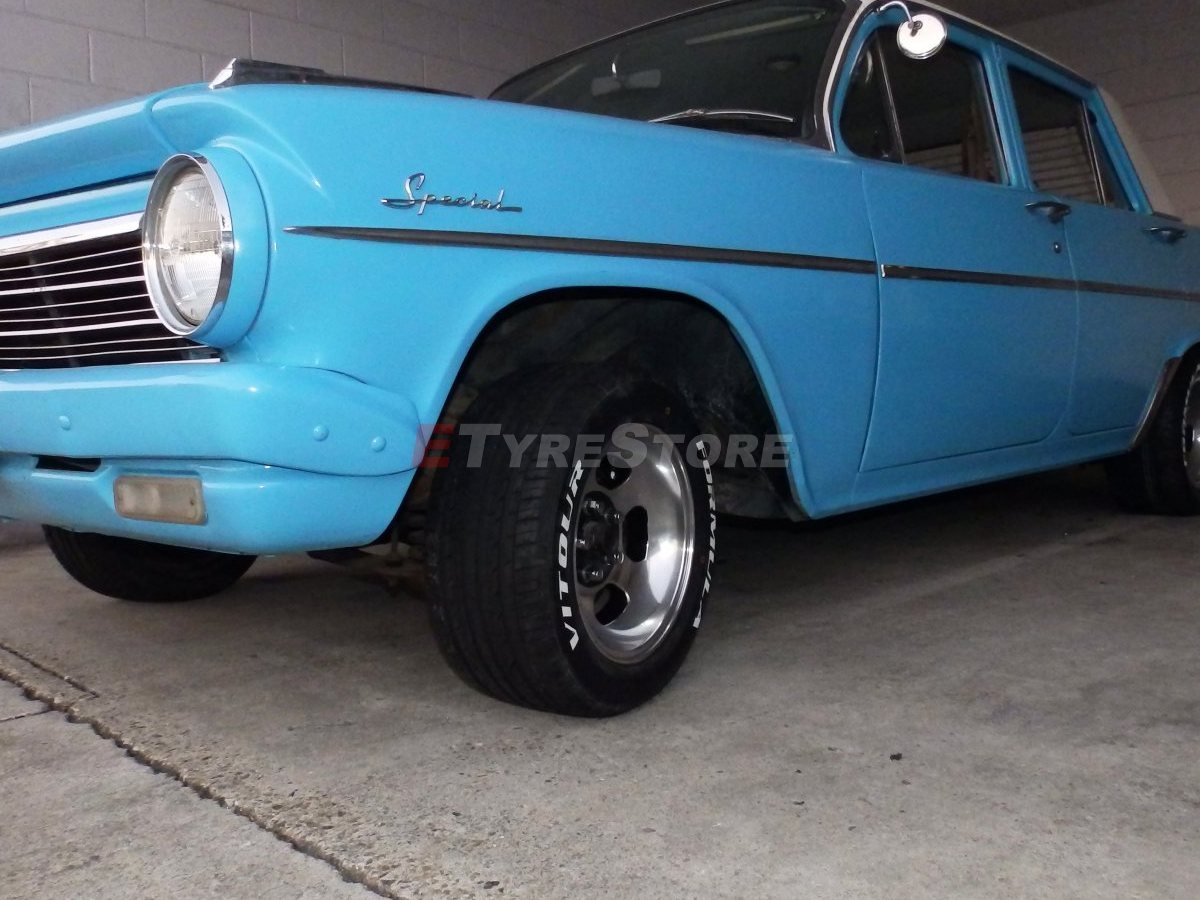 Vitour Galaxy Raised White Lettering2 ViewsClick to View |
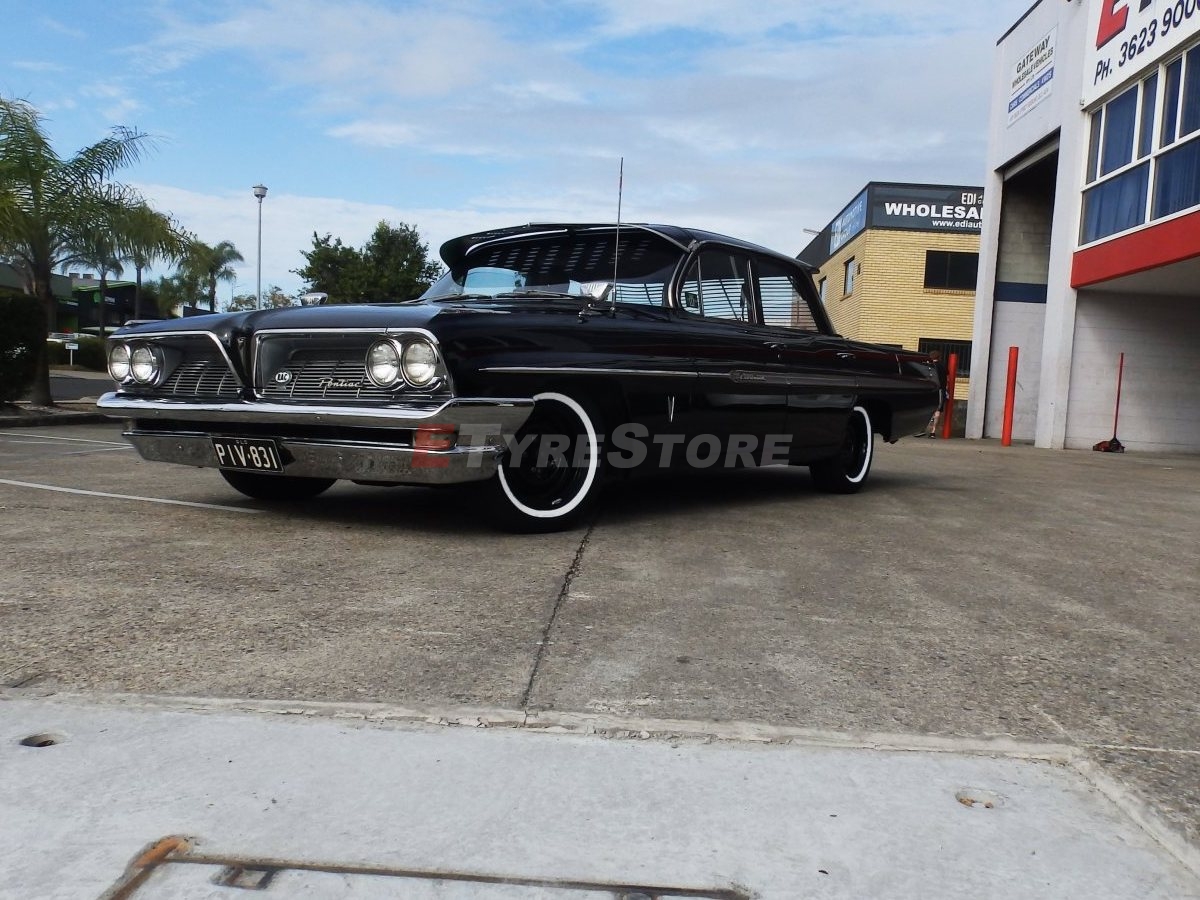 Pontiac With Vitour Galaxy White Wall Tyres2 ViewsClick to View | 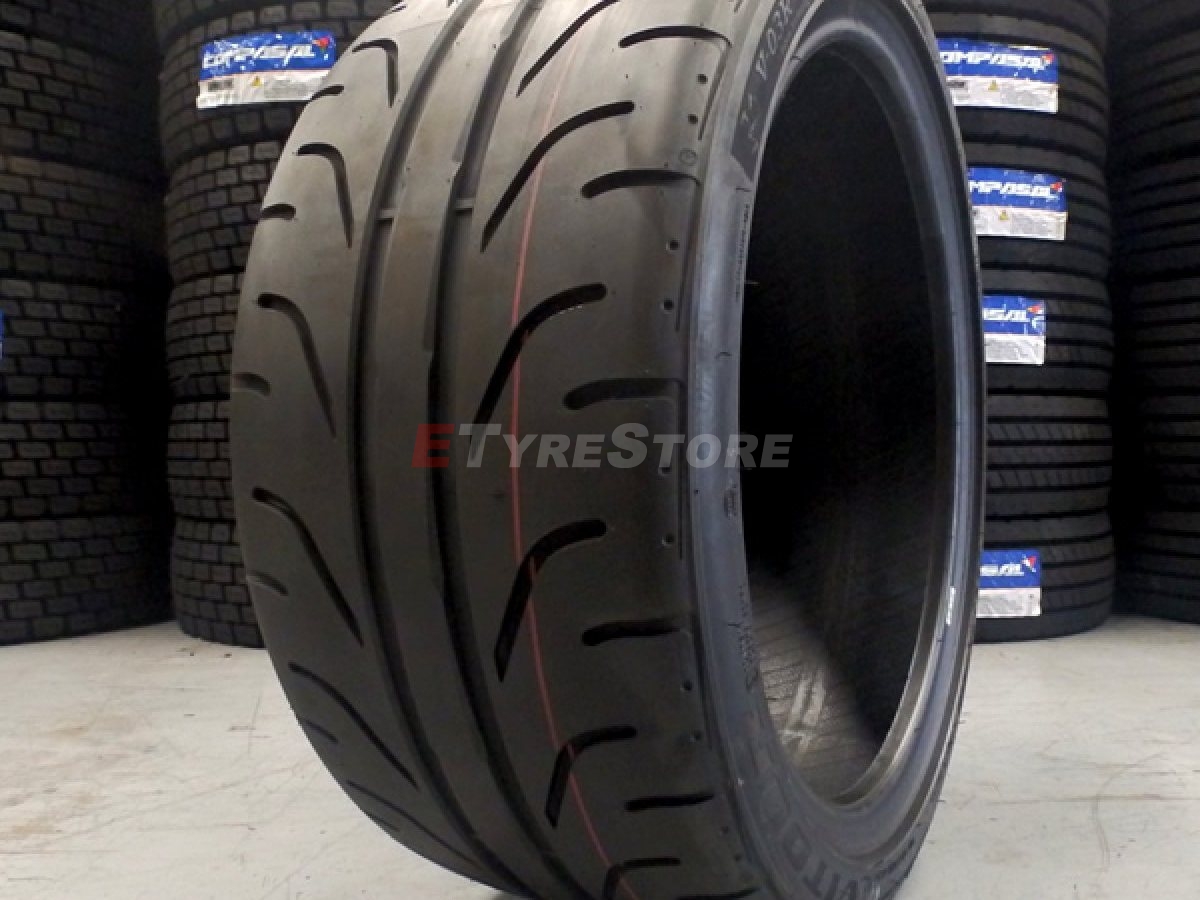 Semi-Slick10 ViewsClick to View |  Vitour White Side Wall10 ViewsClick to View |
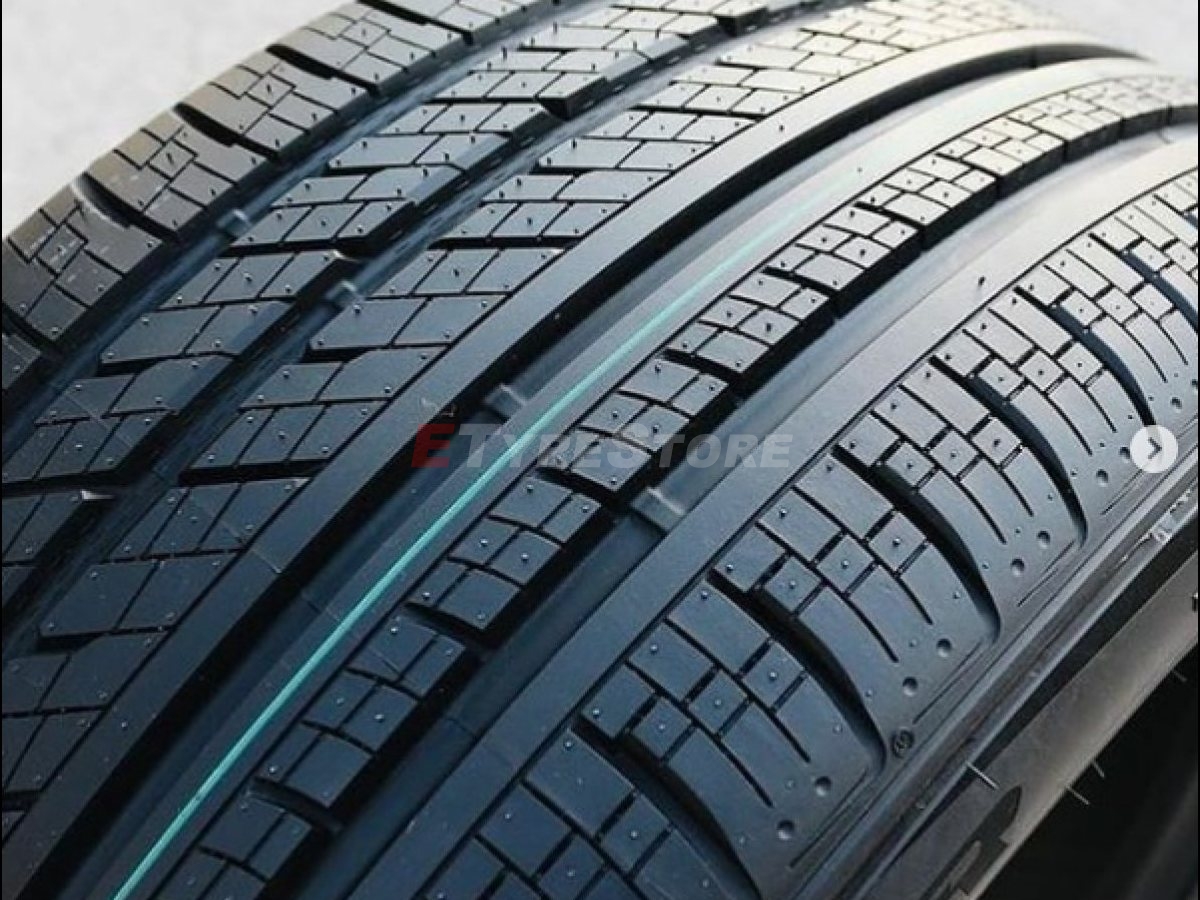
 Raised White Lettering 10 ViewsClick to View | 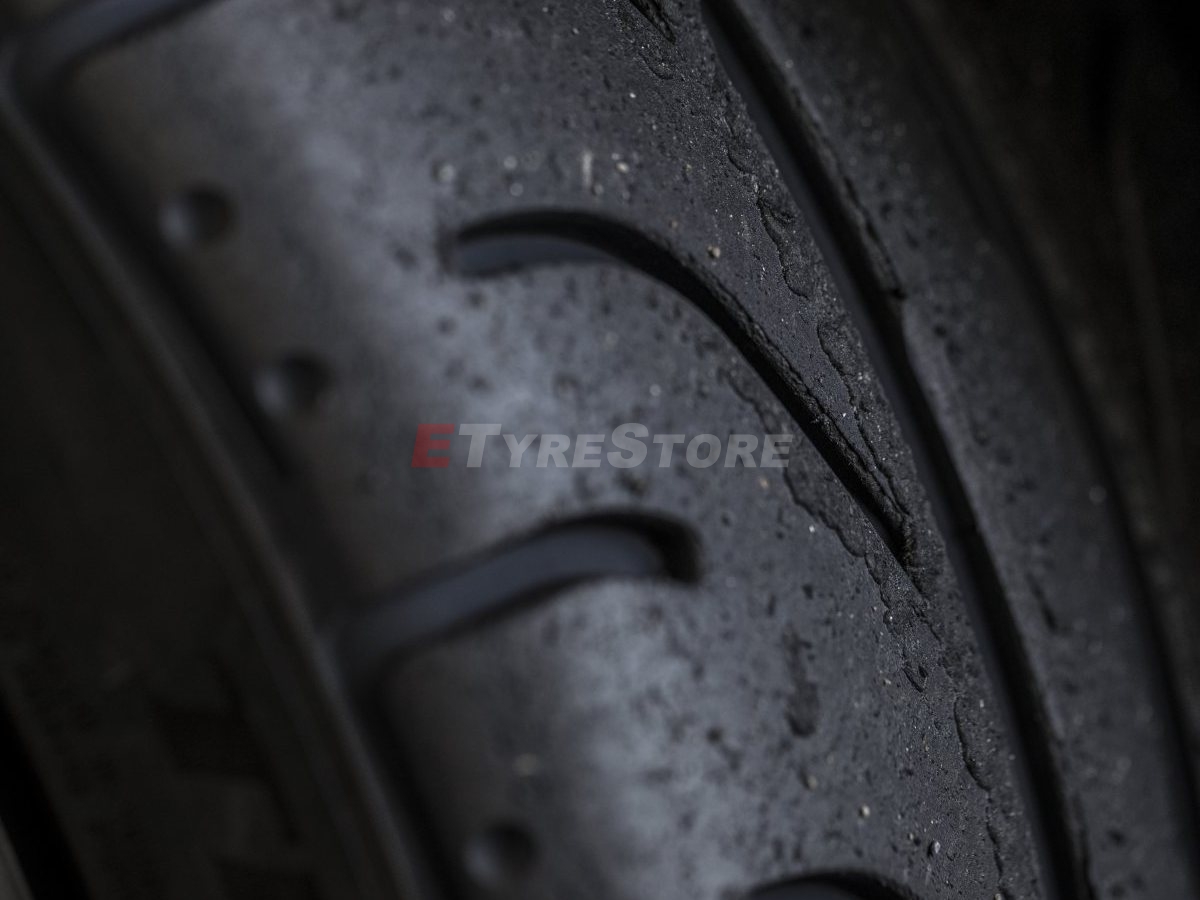 Semi Slick2 ViewsClick to View |  Galaxy Tread2 ViewsClick to View |
 Tempesta2 ViewsClick to View | 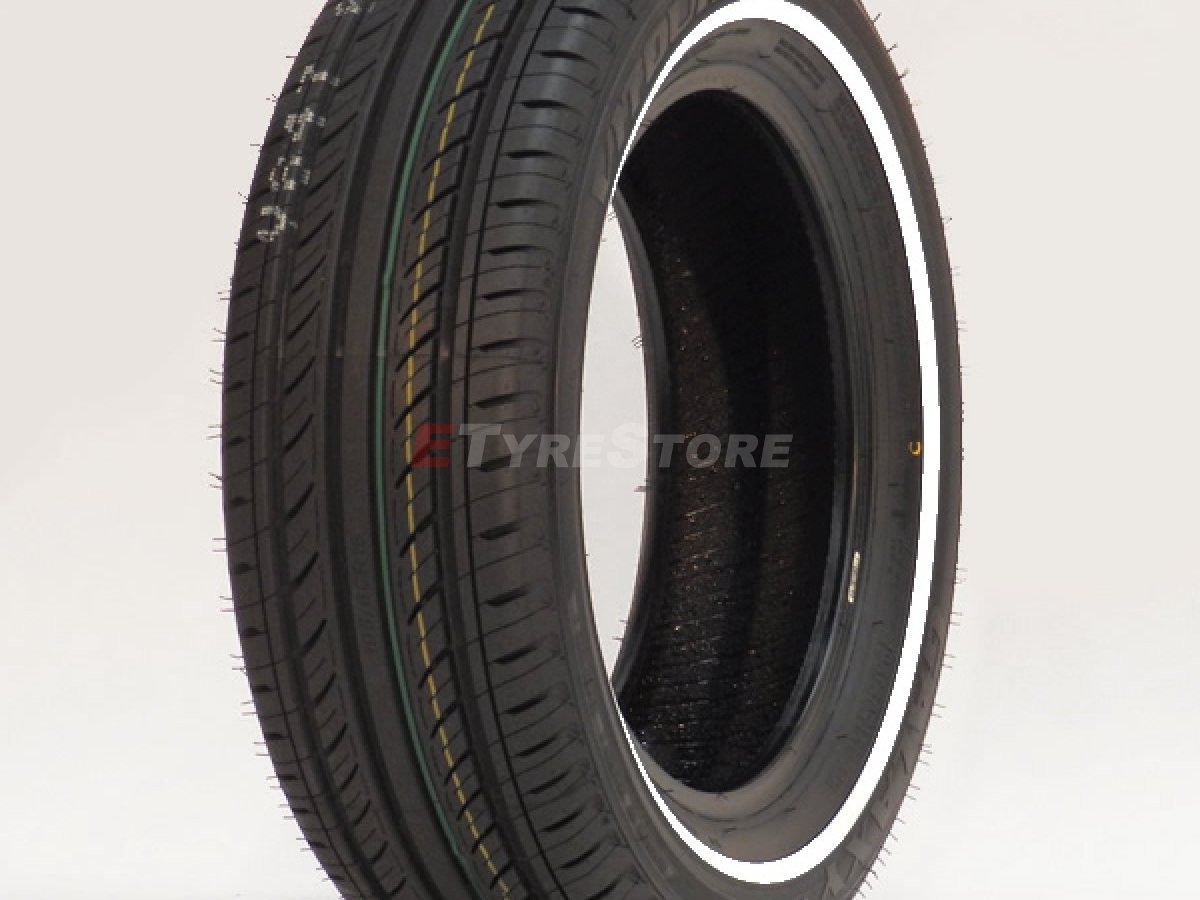 White Side Wall2 ViewsClick to View |  Galaxy RWL2 ViewsClick to View |
 Radial RWL2 ViewsClick to View |  Tempesta Enzo2 ViewsClick to View |  Vitour Formula RWL2 ViewsClick to View |
 Vitour RWL2 ViewsClick to View | 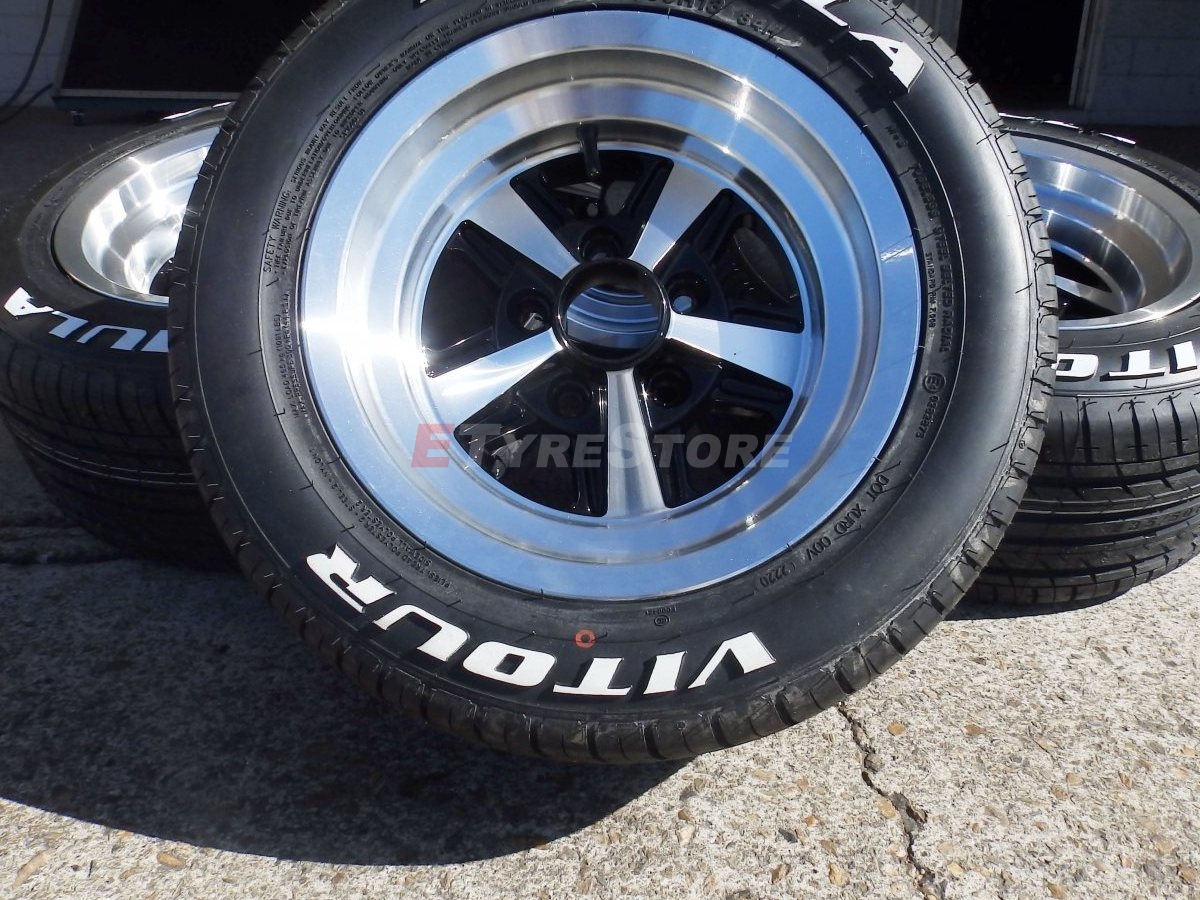 Vitour RWL2 ViewsClick to View | 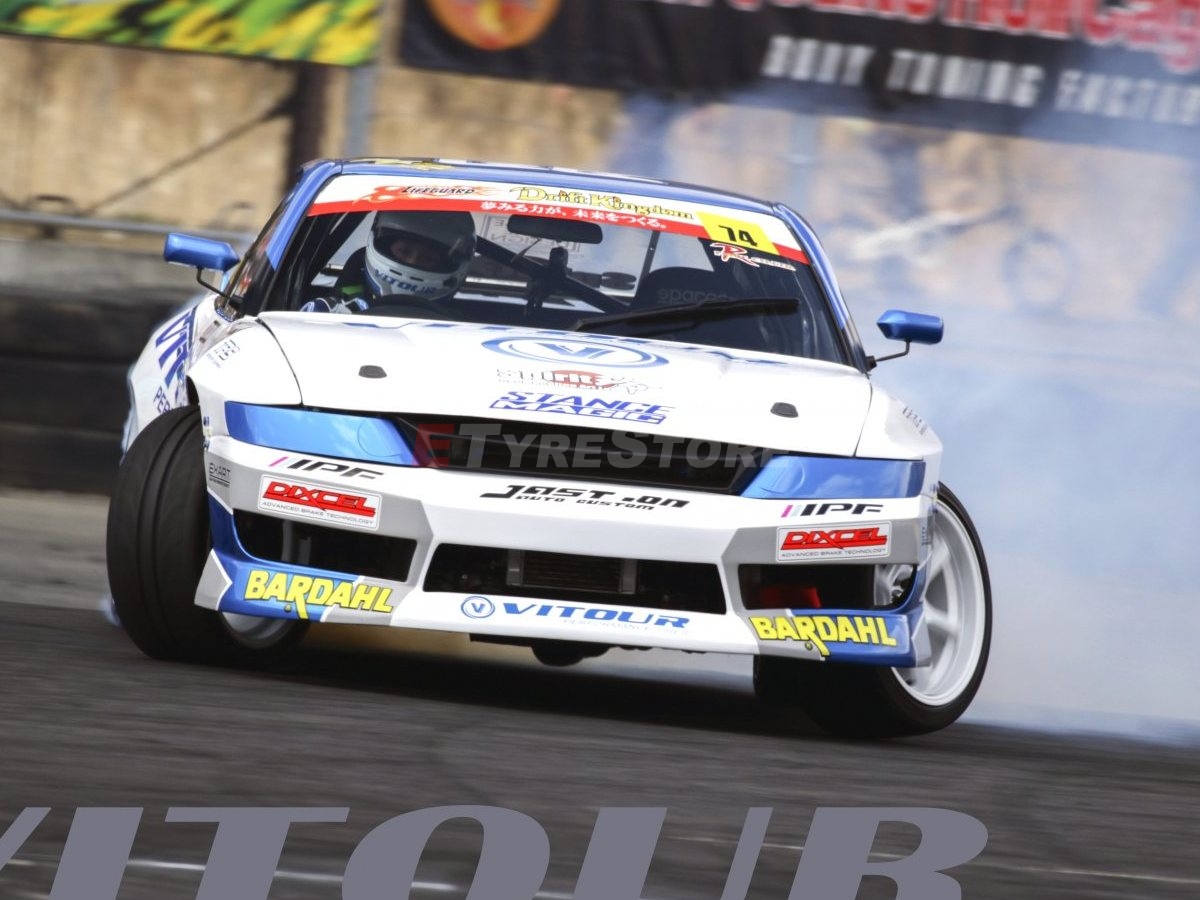 Vitour2 ViewsClick to View |
 Truck Full Of Vitour Tyres2 ViewsClick to View | 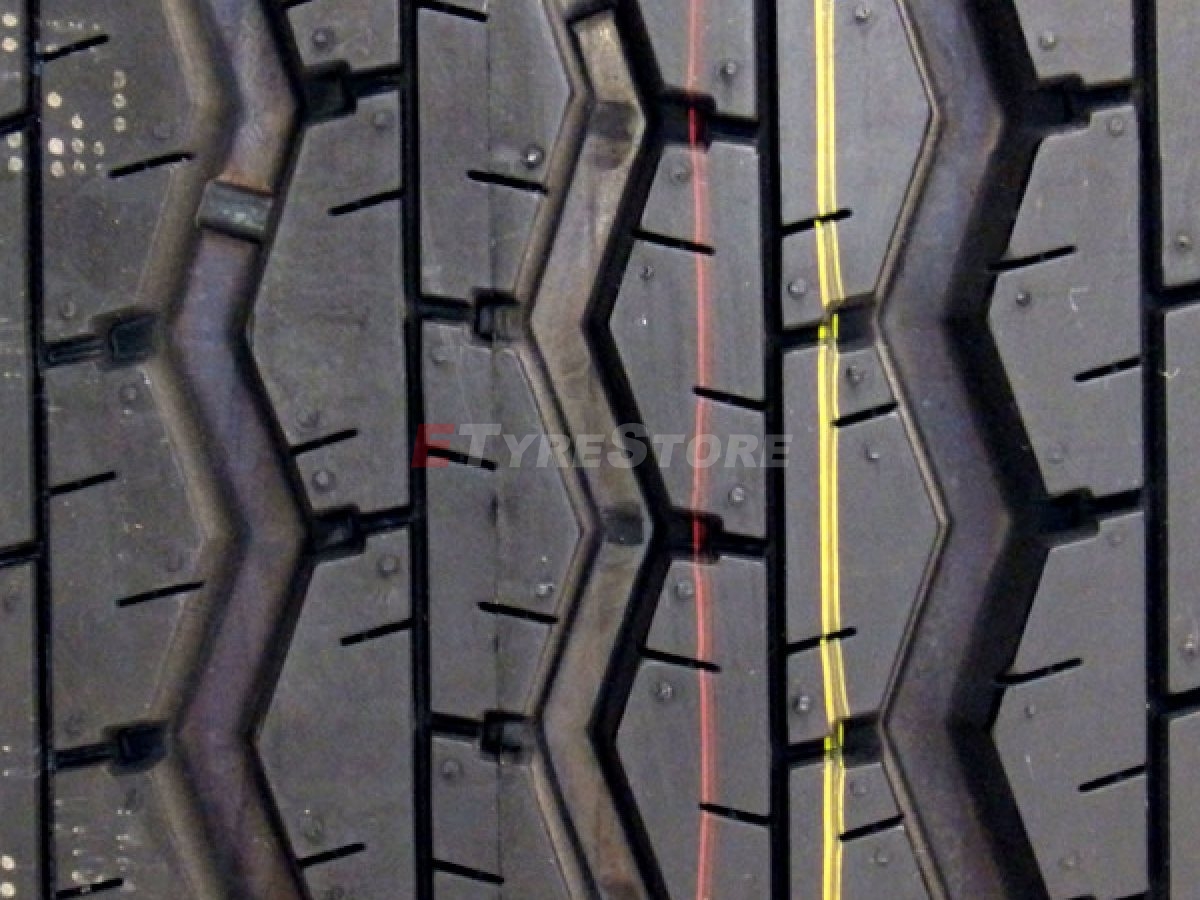 Tread On A V2000 Vitour Tyre2 ViewsClick to View | 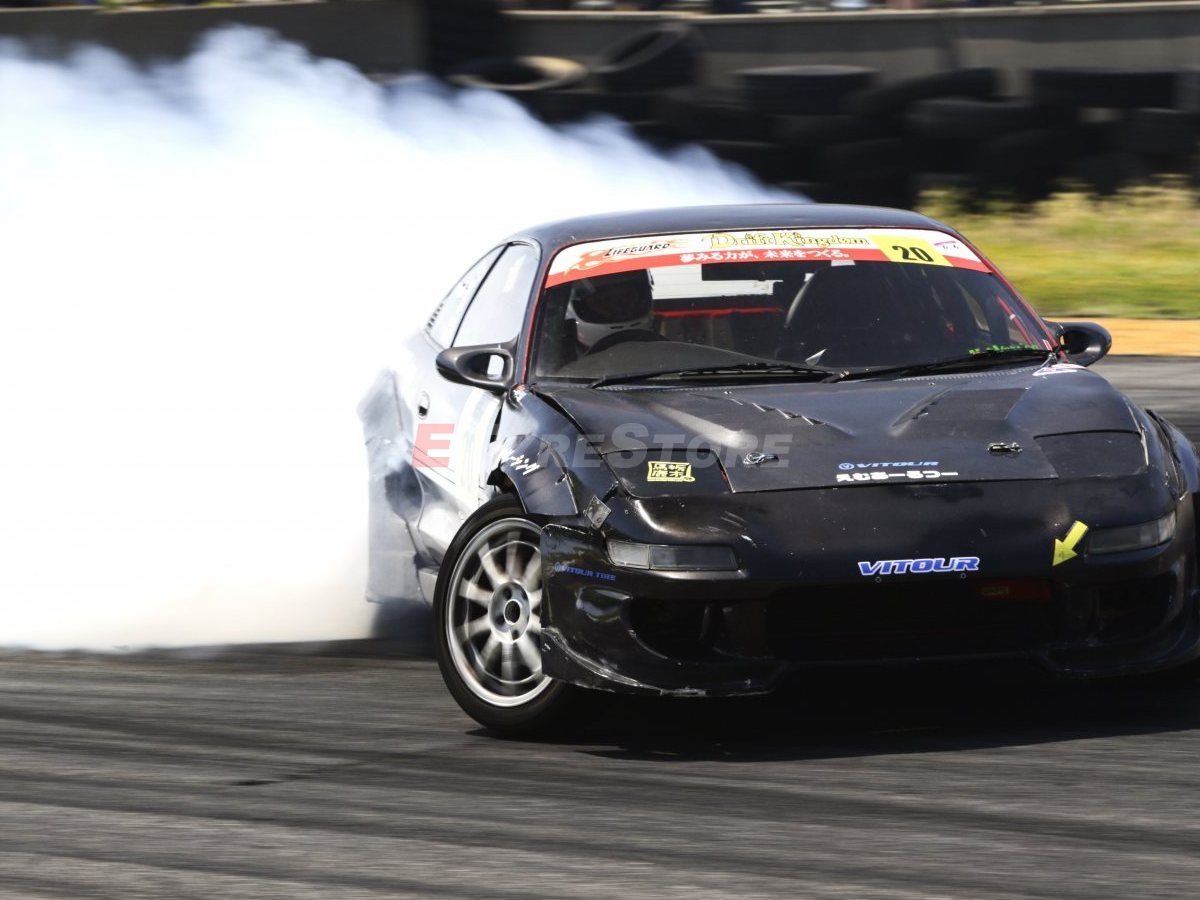 Performance Tyres2 ViewsClick to View |
 Vitour Formula2 ViewsClick to View |  Vitour Galaxy WSW2 ViewsClick to View |  Wsw2 ViewsClick to View |
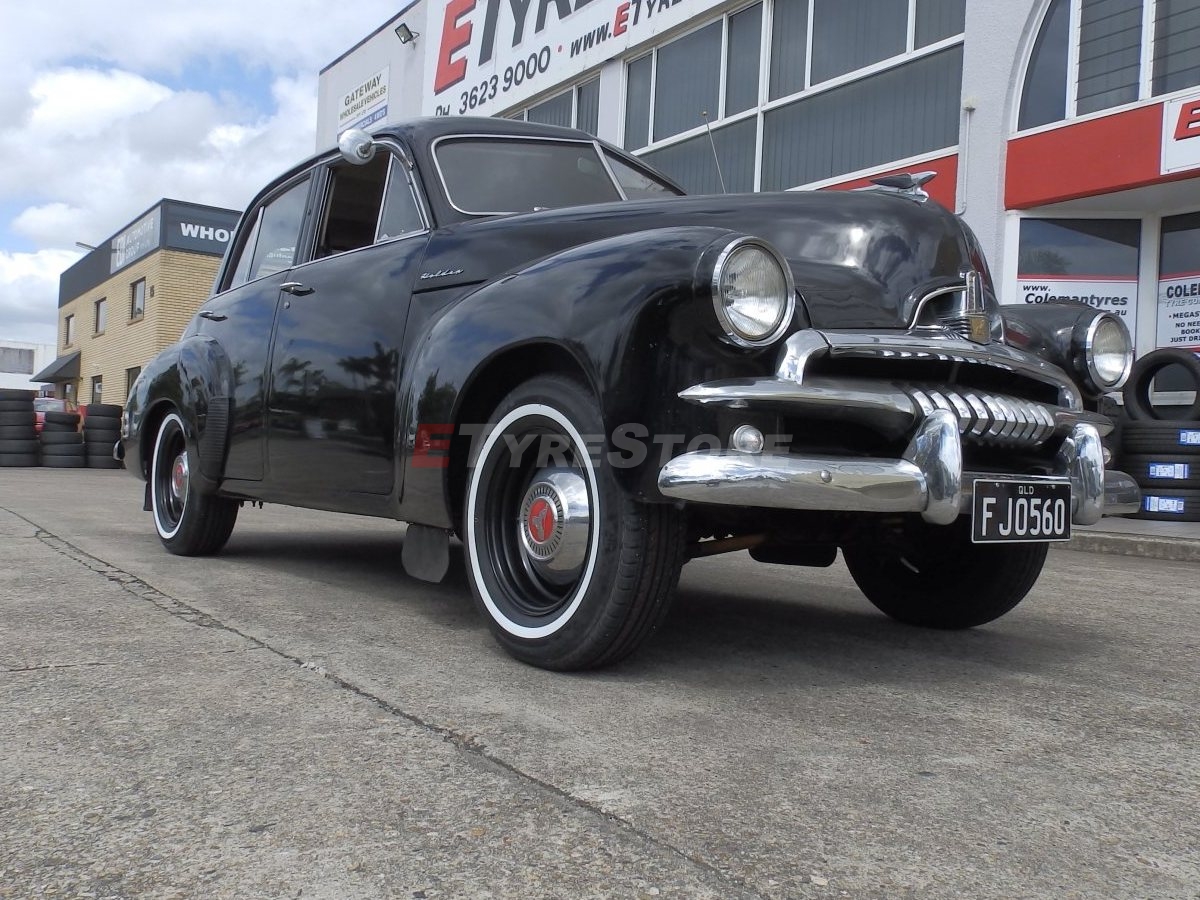 WSW On A Holden FJ Sedan2 ViewsClick to View |  Vitour Semi-slick3 ViewsClick to View | 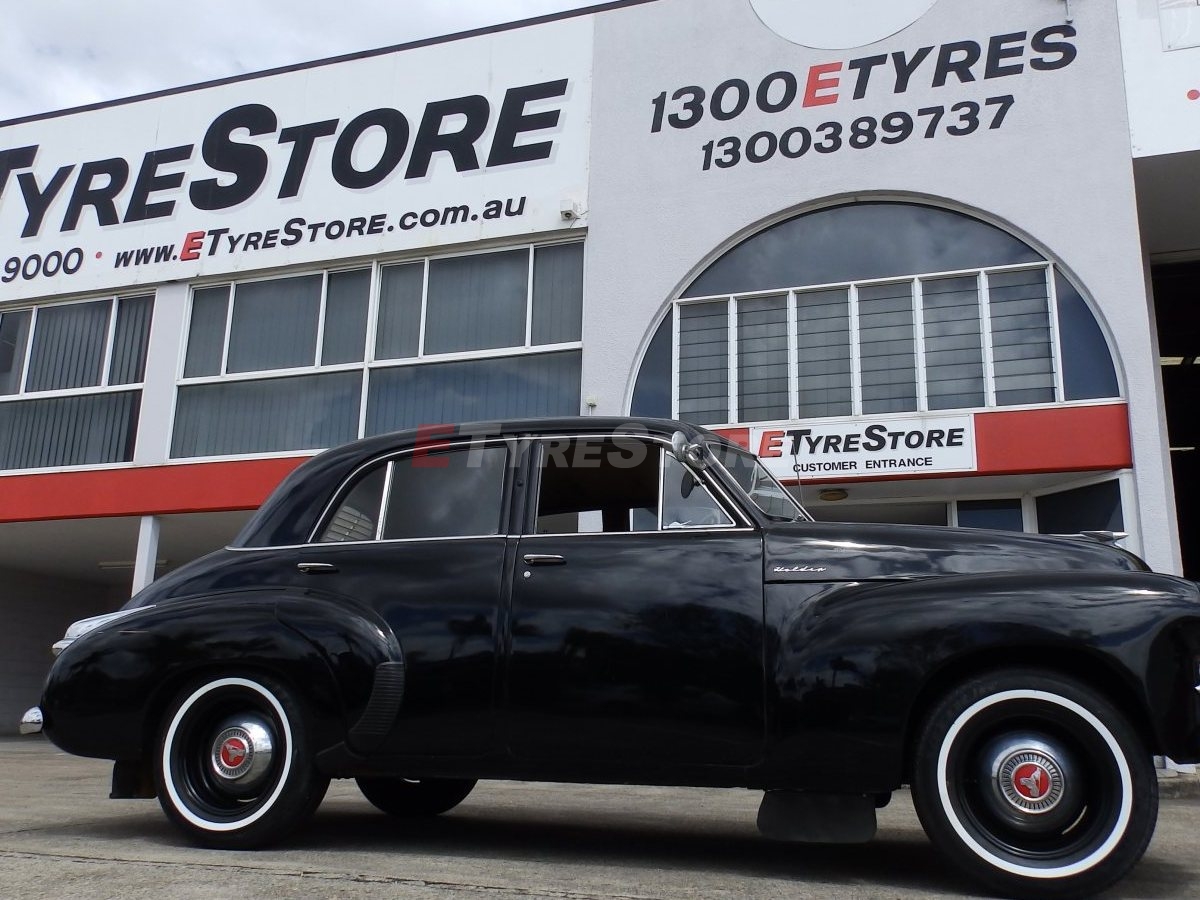 Vitour White Side Walls 2 ViewsClick to View |
 Semi-slicks2 ViewsClick to View |
 Click to Call..
ETyreStore
Click to Call..
ETyreStore
 Click to Email..
ETyreStore
Click to Email..
ETyreStore

